Getting Started with the Raspberry Pi
Items Required:
- Raspberry Pi
- microSD
- Power Supply
- Case (optional)
- Ethernet Cable
Preparing the SD Card.
The first step in using the Raspberry Pi is preparing the SD Card. This begins by first downloading the latest operating system of your choice from the raspberry pi downloads page
For this tutorial we will be using the Raspbian image but the process is the same for all image files
On windows:
![]() The software of choice for writing images on windows is win32 Disk Imager, the latest version can be downloaded from the sourceforge page. Once installed remember to run the software as administrator, if not you will get an error as follows
The software of choice for writing images on windows is win32 Disk Imager, the latest version can be downloaded from the sourceforge page. Once installed remember to run the software as administrator, if not you will get an error as follows

Image 1: Error Shown if win32 disk imager is not started with administrator privileges
Once the program is loaded with administrator privileges, load the image file and select the downloaded image and the drive in which the SD card is mounted. Once the required OS and device is selected just click on write and it will write the image onto the SD Card
Note: Select the correct drive as this is not reversible and you will loose all data on the selected drive

Image 2: Win32 Disk imager with image to be written selected

Image 3: Win32 Disk Imager with successful message
On Ubuntu:
Once the required image is downloaded we need to determine the device id of the memory card. This can be determined from the disks application. 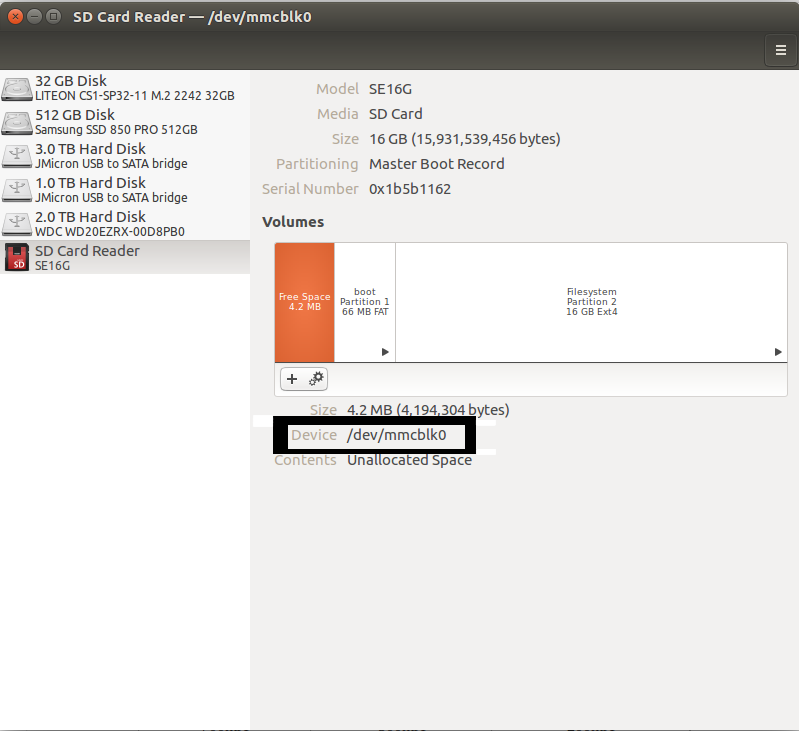
sudo dd if=<location of image> of=<device location> bs=1M
Alternatively, the pv command can be used to track the progress. It can be installed by using the following command:
sudo apt install pv
pv -tpreb <location of image> | sudo dd of=<device location> bs=1M
Starting the Raspberry Pi for the first time.
Now that the SD Card is setup and inserted the microSD card into the Raspberry Pi, the next step is to power the Raspberry Pi. Selecting the appropriate power supply is extremely important as an improperly selected power supply can cause the raspberry pi to be unstable. Have a look at the below table for current requirements of the various models
| Product | Recommended PSU current capacity | Maximum total USB peripheral current draw | Typical bare-board active current consumption |
|---|---|---|---|
| Raspberry Pi Model A | 700mA | 500mA | 200mA |
| Raspberry Pi Model B | 1.2A | 500mA | 500mA |
| Raspberry Pi Model A+ | 700mA | 500mA | 180mA |
| Raspberry Pi Model B+ | 1.8A | 600mA/1.2A (switchable) | 330mA |
| Raspberry Pi 2 Model B | 1.8A | 600mA/1.2A (switchable) | |
| Raspberry Pi 3 Model B | 2.5A | 1.2A | ~400mA |
Table 1: Raspberry Pi Power Supply recommendations
Source: Raspberry Pi Foundation
By default the image written to disk will not consume the entire space on the SD Card, this can be fixed by using the raspberry pi config. Once the raspberry pi has successfully booted and you see the GUI screen.
Open terminal and type sudo raspi-config and you will see as below

As we are currently only interested in making sure that the entire SD Card is used, we will do just. Choose the Expand Filesystem and hit select and then reboot. The timezone and other options can also be changed depending on the requirements


Once completed click on OK to reboot and you are good to go
0 Comments
Trackbacks/Pingbacks