Retro Gaming Machine using Raspberry Pi
Missing the old classic games and your gaming consoles? No need to worry now, we are writing this tutorial for you only, if you have Raspberry pi lying around you, then get ready to turn it into a gaming machine. Before going further some of you may be confused with what Retrogaming is all about, for those let us clear something, you might have seen people playing mario the popular classic game using older gaming consoles that is something which comes under retro games, Usually retrogaming is based upon systems that are obsolete or discontinued.
Here in this post what we are showing “how to turn your Raspberry Pi into an retro gaming machine”, for this we are going to use RetroPie. RetroPie allows you to turn your Raspberry Pi or PC into a retro-gaming machine. It builds upon Raspbian, EmulationStation, RetroArch and many other projects to enable you to play your favourite Arcade, home-console, and classic PC games with the minimum set-up. For power users it also provides a large variety of configuration tools to customise the system as you want.
RetroPie sits on top of a full OS, you can install it on an existing Raspbian, or start with the RetroPie image and add additional software later. It’s up to you. You can follow our RetroPie Installation guide to install the RetroPie on an exsiting Raspbian or If you had bought our Raspberry Pi Gaming Kit, you can refer this blog to setup your RetroPie and Configure the Gamepad we provided.
Let us have a look at the hardware needed for this:
- Raspberry Pi (A, A+, B, B+, 2, Zero, or 3) – for best performance use a Raspberry Pi 3
- Power Supply
- SD Card
- Raspberry Pi official case- White (Optional but recommended)
- Keyboard*
- Mouse*
- USB Joystick /GamePad*
- Wifi Dongle or Ethernet Cable (Wifi is built into the Pi 3)
- Display/Monitor with HDMI Cable.
* Either the keyboard and mouse or the USB Joystick/GamePad is require to be able to play
You can straight away start with our Raspberry pi 3 Gaming Kit Black or Raspberry Pi 3 Gaming Kit White. If you having our Raspberry Pi Gaming Kit with you or you are looking for Configure our Gamepad alone, you can refer this blog
Installation
Now once you are ready with the mentioned hardware, its time to setup your SD card with RetroPie, for this you need to download RetroPie OS. There are currently two versions of RetroPie. There is one version for Raspberry Pi 0/1 (Model A, A+, B, B+) and there is a version for Raspberry Pi 2/3.
Download the SD image for your version of Raspberry Pi from the following page:
If you are unsure which version of Raspberry Pi you have then look at the Silkscreen on the Raspberry Pi, its mentioned there or if you having one running raspberry pi with raspbian installed then there is an easy way to check:
Rpi 0/1= 1 raspberry when the pi boots up
Rpi 2/3= 4 raspberries when the pi boots up
The above mentioned things can be confirmed after you install the RetroPie on your Raspberry pi. If you get the error Illegal Instruction when it boots, you picked the wrong SD image.
Once you have downloaded your SD card image you need to extract it using a program such as winrar or 7-Zip. You will extract the downloaded .gz file and the extracted file will be a .img file.
To extract from the command line, you can type the following into a Terminal window, placing X with version you downloaded:
gunzip retropie-4.X.X-rpi2_rpi3.img.gz
To install the RetroPie SD image on your MicroSD card. (You may need a MicroSD card reader to plug it into your computer)
- For Windows you can use a program called Win32DiskImager
- For mac you can use Apple Pi Baker
- For Linux you can use
ddcommand or Etcher
Refer this guide to see how to install using Win32DiskImager.
Once you done with writing image to your SD card, you are ready to plug in the card to Raspberry Pi and Power it up.After your power the system you will see screen as follows:
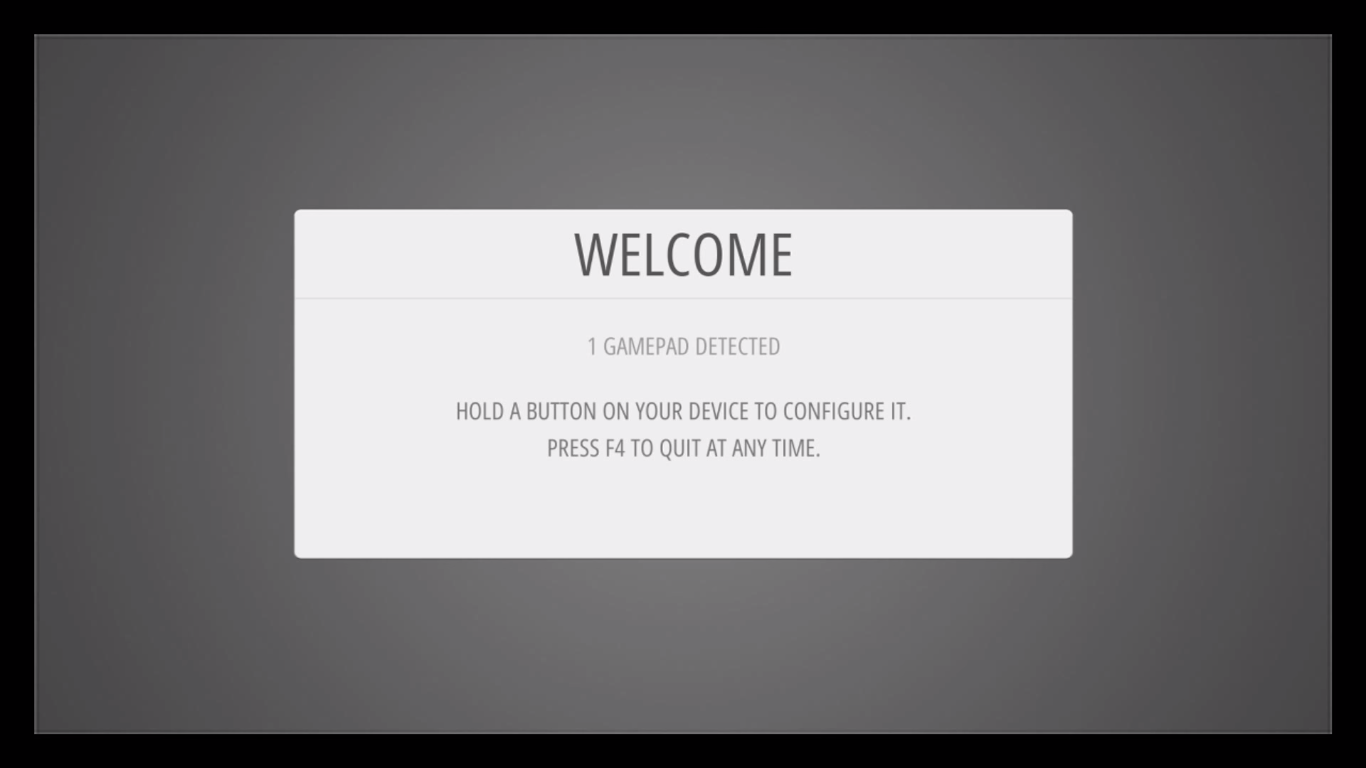
Here you are able to configure your gamepad and keyboard key function, all you need to do is follow the onscreen command, the above shown screen will come during the first time setup only, otherwise, the system will boot retroPie EmulationStation( refer the image shown below), the configuration can be done at anytime as well, which is available in retroPie menu -> Input options.
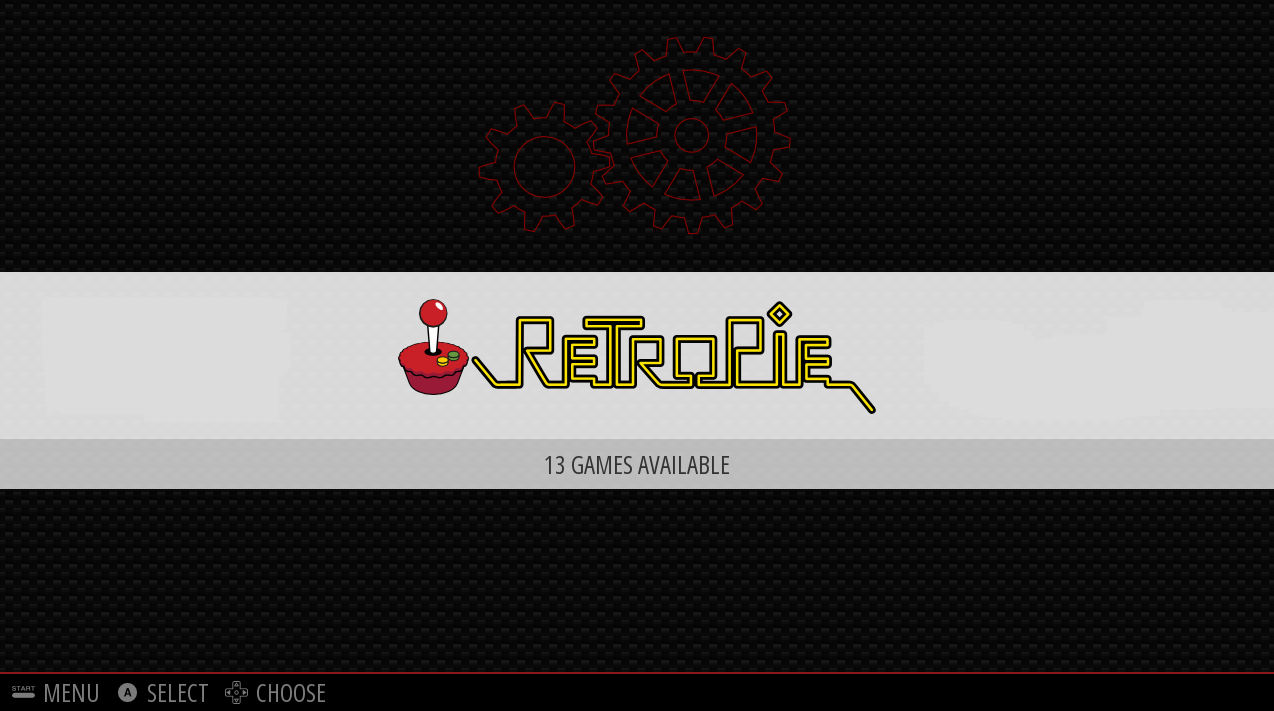
Now what you can see in front of you is the EmulationStation, when you first see EmulationStation you may wonder why you don’t see systems like the SNES or Game Boy- worry not- they are installed on the system, roms just need to be added to their respective rom folders before they will become visible. Transferring roms are described in the following steps:
Installing ROM
Due to the nature/complexity of Copyright/Intellectual Property Rights Law, which differs significantly from Country to Country, ROMs cannot be provided with RetroPie and must be provided by the user. You should only have ROMs of games that you own.
You can transfer the ROMs using USB or using SFTP . Refer the steps below to install using USB
- (ensure that your USB is formatted to FAT32 or NTFS)
- first create a folder called
retropieon your USB stick - plug it into the pi and wait for it to finish blinking
- pull the USB out and plug it into a computer
- add the roms to their respective folders (in the
retropie/romsfolder) - plug it back into the raspberry pi
- wait for it to finish blinking
- Refresh emulationstation by choosing restart emulationstation from the start menu
To transfer ROM using SFTP, follow the mentioned steps:
- Connect you Raspberry pi to network, connect ethernet cable to your pi for a wired network or you can use built in wifi for the Raspberry pi 3 or use wifi dongle for older Raspberry pi.
- To connect your Raspberry pi with wifi, you need to boot the Raspberry Pi(except Raspberry pi 3) without the WiFi adapter plugged in.
- Skip the Emulator screen which is shown in the emulator image by pressing F4 on keyboard then you will be directed to command line
- Then enter followng command:
sudo nano /etc/network/interfaces
- Then you will see following file:
auto lo
iface lo inet loopback
iface eth0 inet dhcp
allow–hotplug wlan0
auto wlan0
iface wlan0 inet dhcp
wpa–ssid “ssid”
wpa–psk “password”
- All you need to do is replace the ssid and password of your network and save the file and you will be connected to wifi automatically once you reboot the system.
- The other way to connect is to use the RetroPie EmulationStation itself, once you open the RetroPie you will see the option for wifi, all you need to do is enter the credentials.
- Once connected note down the IP address of the System, you can find it in the same page where you find the Wifi option in the EmulationStation.
- There are many SFTP programs out there, for windows many people use WinSCP and for mac you can use something like Cyberduck
- We will show you how to install using WinSCP, first install WinSCP and enter the following credentials in the Login Window:
Host Name: Your IP Address
User name: pi
Password: raspberry

Once you are logged in successfully, you can see two windows, one window as your computer files explorer and the second window is of RetroPie files explorer, you just need to upload the files from your computer to the RetroPie -> ROM -> Emulator(for the Respective ROM you having) directory. Refer the sample video below for the demonstration we did to transfer one configuration file from windows system to other System.
Download ROM
If you don’t have any ROMs with you, download some from here
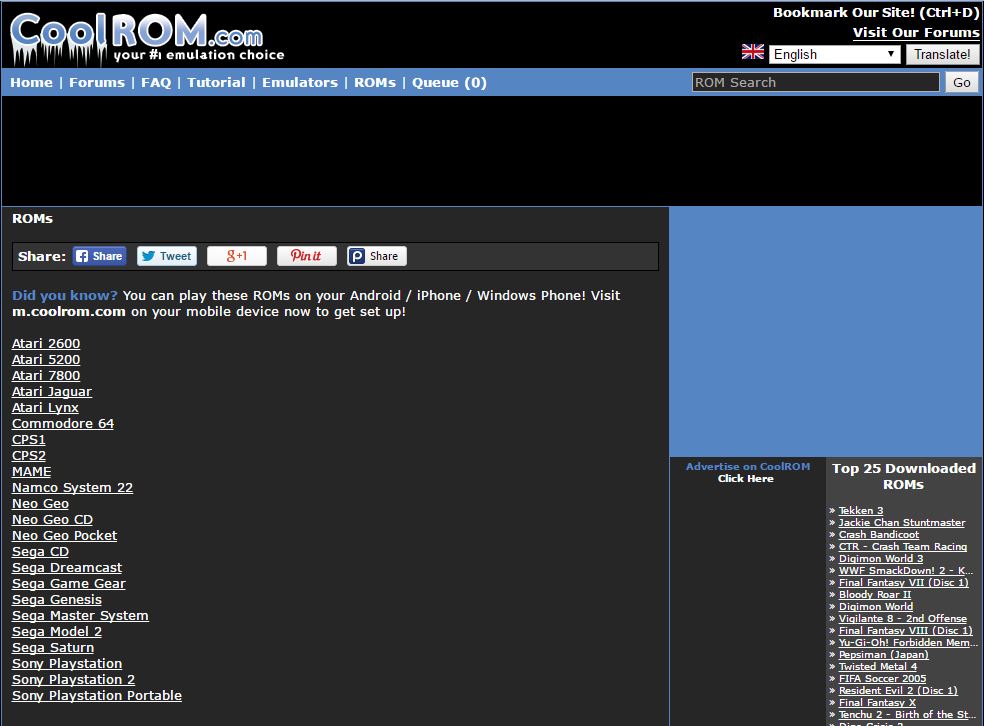
You can see that games for various emulators are provided in the website, you can download any game for the supported emulators you needed. Refer this link to see the list of supported systems/Emulators for RetroPie. Now follow the steps below:
- For initial test open the Atari2600 Emulator and there you can see a list of games, download anyone game as per your interest.
- Once downloaded extract the files to some known location like your computer desktop. once done you can see one file in the desktop with .A26 Extension
- Now open your WinSCP and connect with RetroPie
- Once connected, open the rom folder under RetroPie
- Open the Atari2600 folder mentioned under rom directory
- Copy the file from your computer desktop to the Atari2600 Folder.
- Now all you need to do is disconnect the WinSCP and restart your RetroPie and you are ready to play your game.
Before playing make sure, you had configured your gamepad/Keyboard, for reference check this installation guide and check out the key Maps for the gamepad. Hope you had enjoyed this tutorial, we love to hear from you.
Stay tuned for our brand new RetroPie Starter Kit for Raspberry Pi, which will be launched soon.
0 Comments
Trackbacks/Pingbacks