Getting started with the Particle Photon
The particle photon provides one of the best IoT experience in the market, its out of the box experience is unparalleled. Here we will be talking about the steps required to get started with the Particle Photon.
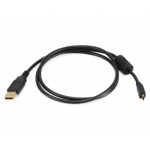
Hardware Required:
 |
|
 |
Manually upgrading to the latest firmware:
The Particle Photon may not come with the latest firmware, the firmware is automatically upgraded to the latest version when a program is uploaded. Alternatively, the firmware can also be upgraded to the latest version using the Particle Firmware Manager app. You can get the latest version from Firmware Releases page
Once downloaded, run the application as administrator this will automatically install the drivers first and will later ask to connect the board.
Once the drivers are installed, connect the Particle Photon and click on Update to X.X.X where X.X.X is the firmware version.
Connecting the Particle Photon to the WiFi using the Particle App
- The easiest way to configure the Particle Photon is using the Particle App, there are Android and iOS versions available.
- Once the board is booted up and in setup mode the on board RGB Led will start blinking blue.
- Click on setup a photon and choose the WiFi AP corresponding to Photon-XXXX where XXXX varies from board to board. Once connected select your WiFi and enter the password.
- The tinker code helps you configure the various GPIO pins on the Photon through the mobile app. If the board is flashed with a non-Tinker code, it can be re-flashed though the app itself. The on-board LED is connected to D7
Programming the Particle Photon
Particle offers 3 options to program the Particle Photon.
- Online
- Semi-offline
- Offline
In this tutorial we will be covering the Online and the Semi-offline method
Programming the Particle Photon Online
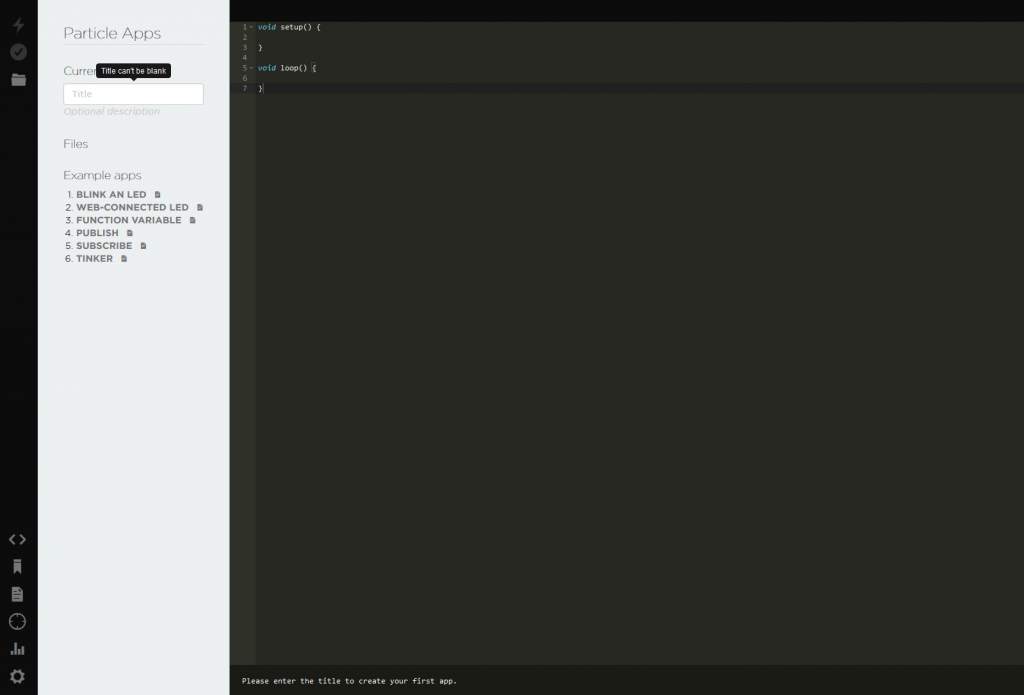
Particle has a great online IDE that can be used for pushing code onto the Particle Photon.
| |
Flash the code on to the Particle Photon |
| |
Verify the code of errors |
| |
Save current code |
| |
Show/Hide the side bar |
| |
List of libraries |
| |
View the docs |
| |
List of devices |
| |
Open the Particle Dashboard that will list all your devices and products |
| |
Basics settings for Particle Account |
Step 1: Get the Code ready
The first step would be to create an app, for the tutorial we will be using the blink an LED app. Once the code is typed out and ready to be flashed, the board that needs to be flashed needs to be selected.
Step 2: Select the device
The device to be flashed can be selected from the list of devices tab. Here you can also select the firmware that is to be used.
Step 3: Flashing the code
Flashing the code is as simple as clicking on the flash button. The first time uploading the code might take longer as the firmware will need be upgraded, this process is denoted by the magenta color on the RGB Led
Programming the Particle Photon using the IDE
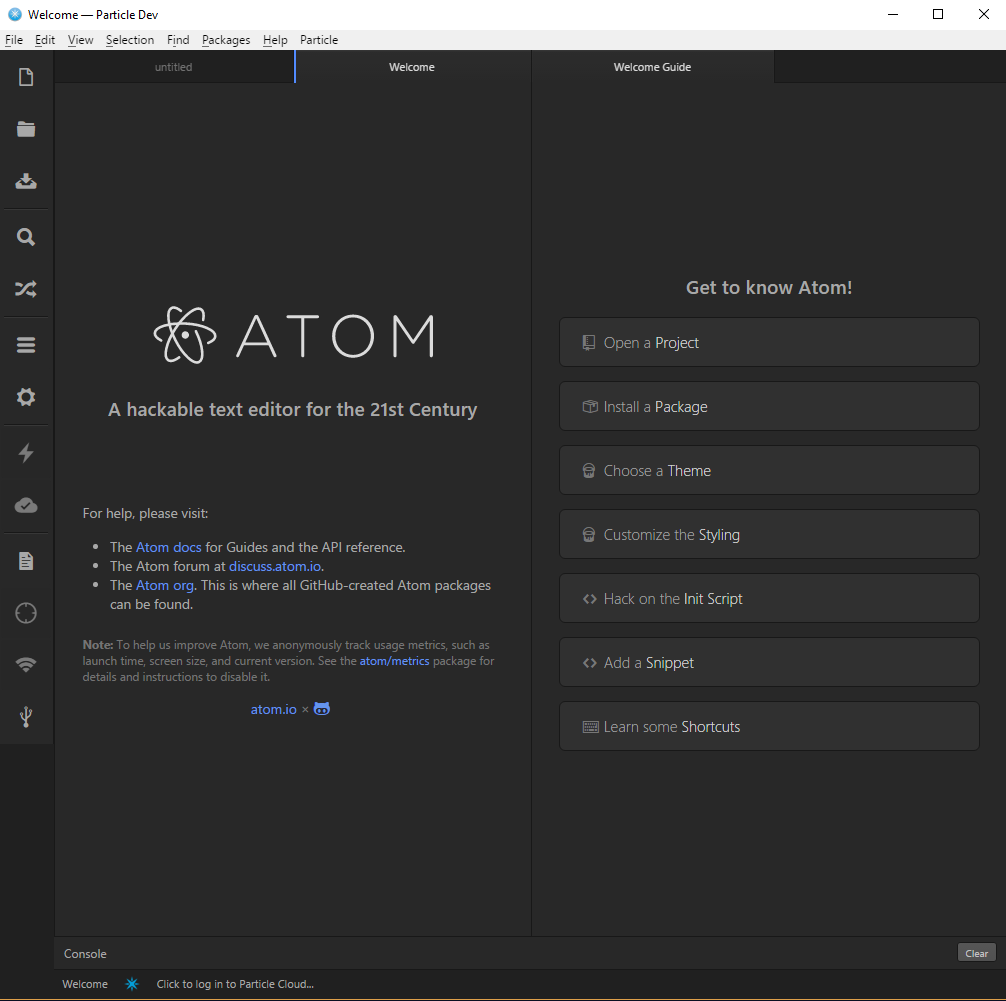
The Particle IDE offers a local solution to coding on the Particle Photon, the IDE allows you to code locally but still requires an internet connection to be able to compile the code and to push it to the board.
In order to be able to select the board that needs to be programmed, the IDE needs access to your particle account. This can be done through the Particle menu, Particle → Login to Particle Cloud
The device can be selected from Particle → Select Device
In order to get started, we need to create a project folder which will hold the code. Once done add the project folder to the Particle IDE. This will show in the side bar
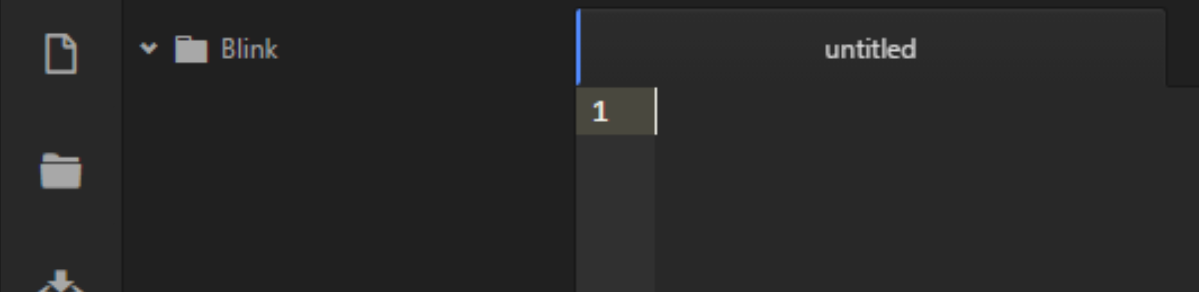
All of the files for the project will be shown in the sidebar. Any library that is to be included in the code must be added to this folder , all added libraries will show up under this.
Once the code is ready to be uploaded, click on flash. The status will display success once uploaded.
