Laser Tag
OVERVIEW:
It is a simple and Easy DIY game you can play with your friends, using dartboard with an Ambient Light Sensor in its center along with an LCD to display the score and a Laser arm to aim at the center of the Dart Board. In this game, each player will have 10 shots to aim at the Dart Board and the game is to score the maximum points with 10 chances in a duration of 1 minute. While the LCD on the Dart Board setup shows the time remaining , the LCD on the laser arm shows the number of shots left. This game is a sure test of focus, aim, and speed.

There are 2 parts to this project:
Dartboard
- Medusa Head for SparkFun ESP 32 Thing
- Medusa Ambient Light Sensor
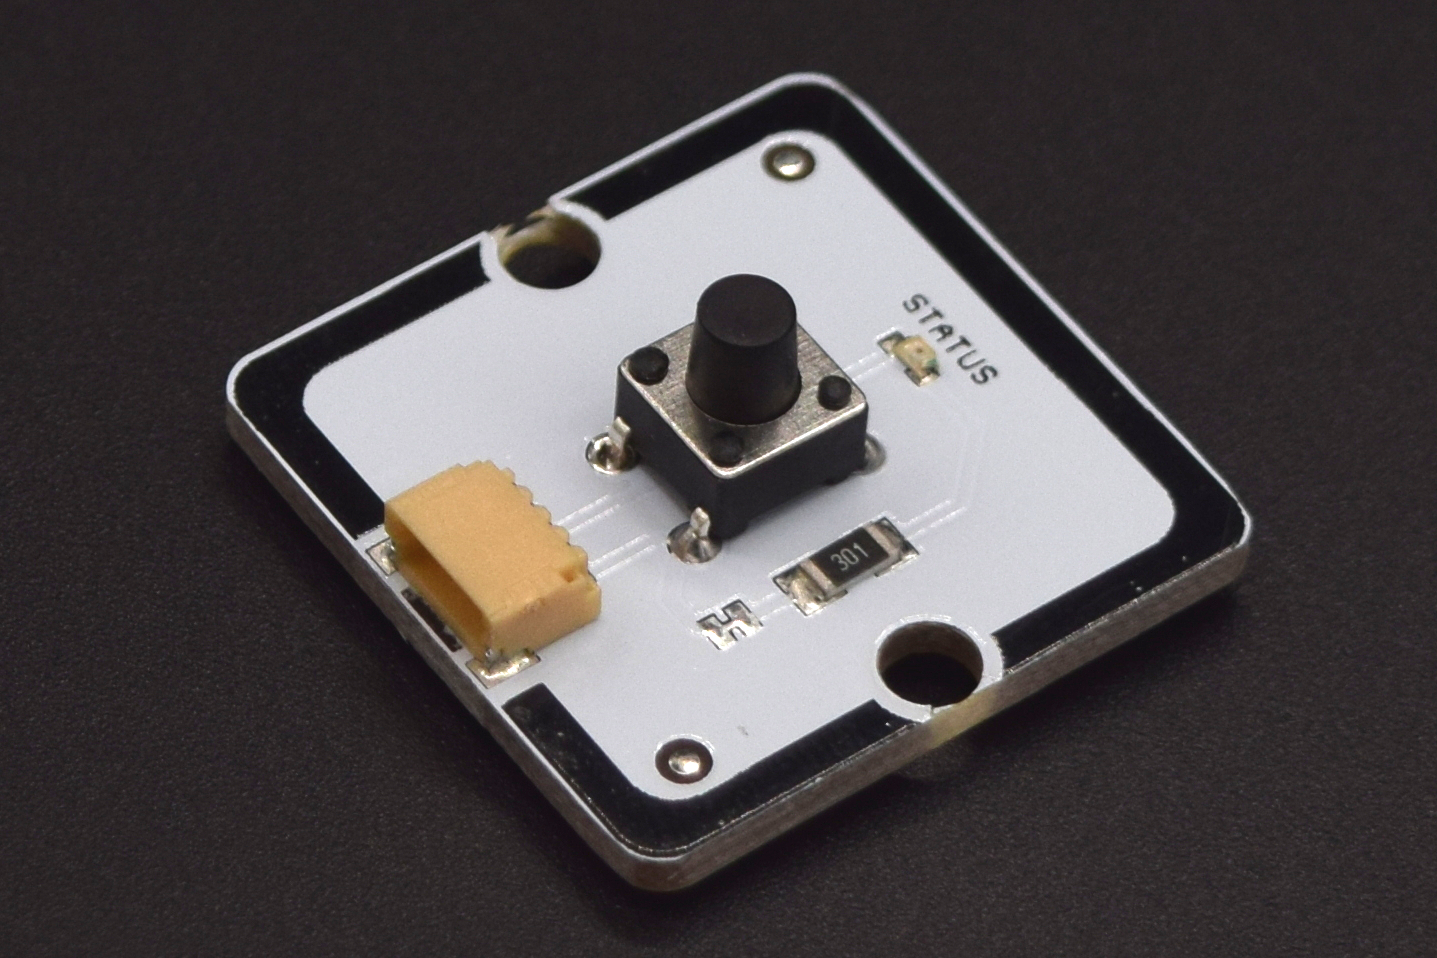
- Medusa Touch Sensor
- Medusa Buzzer
- Medusa I2C 16 x 2 LCD Display
- Cardboard Cutouts and color Paper for dartboard
- 3 medusa 500mm cable and 3 Medusa 150 mm cable
- a power bank
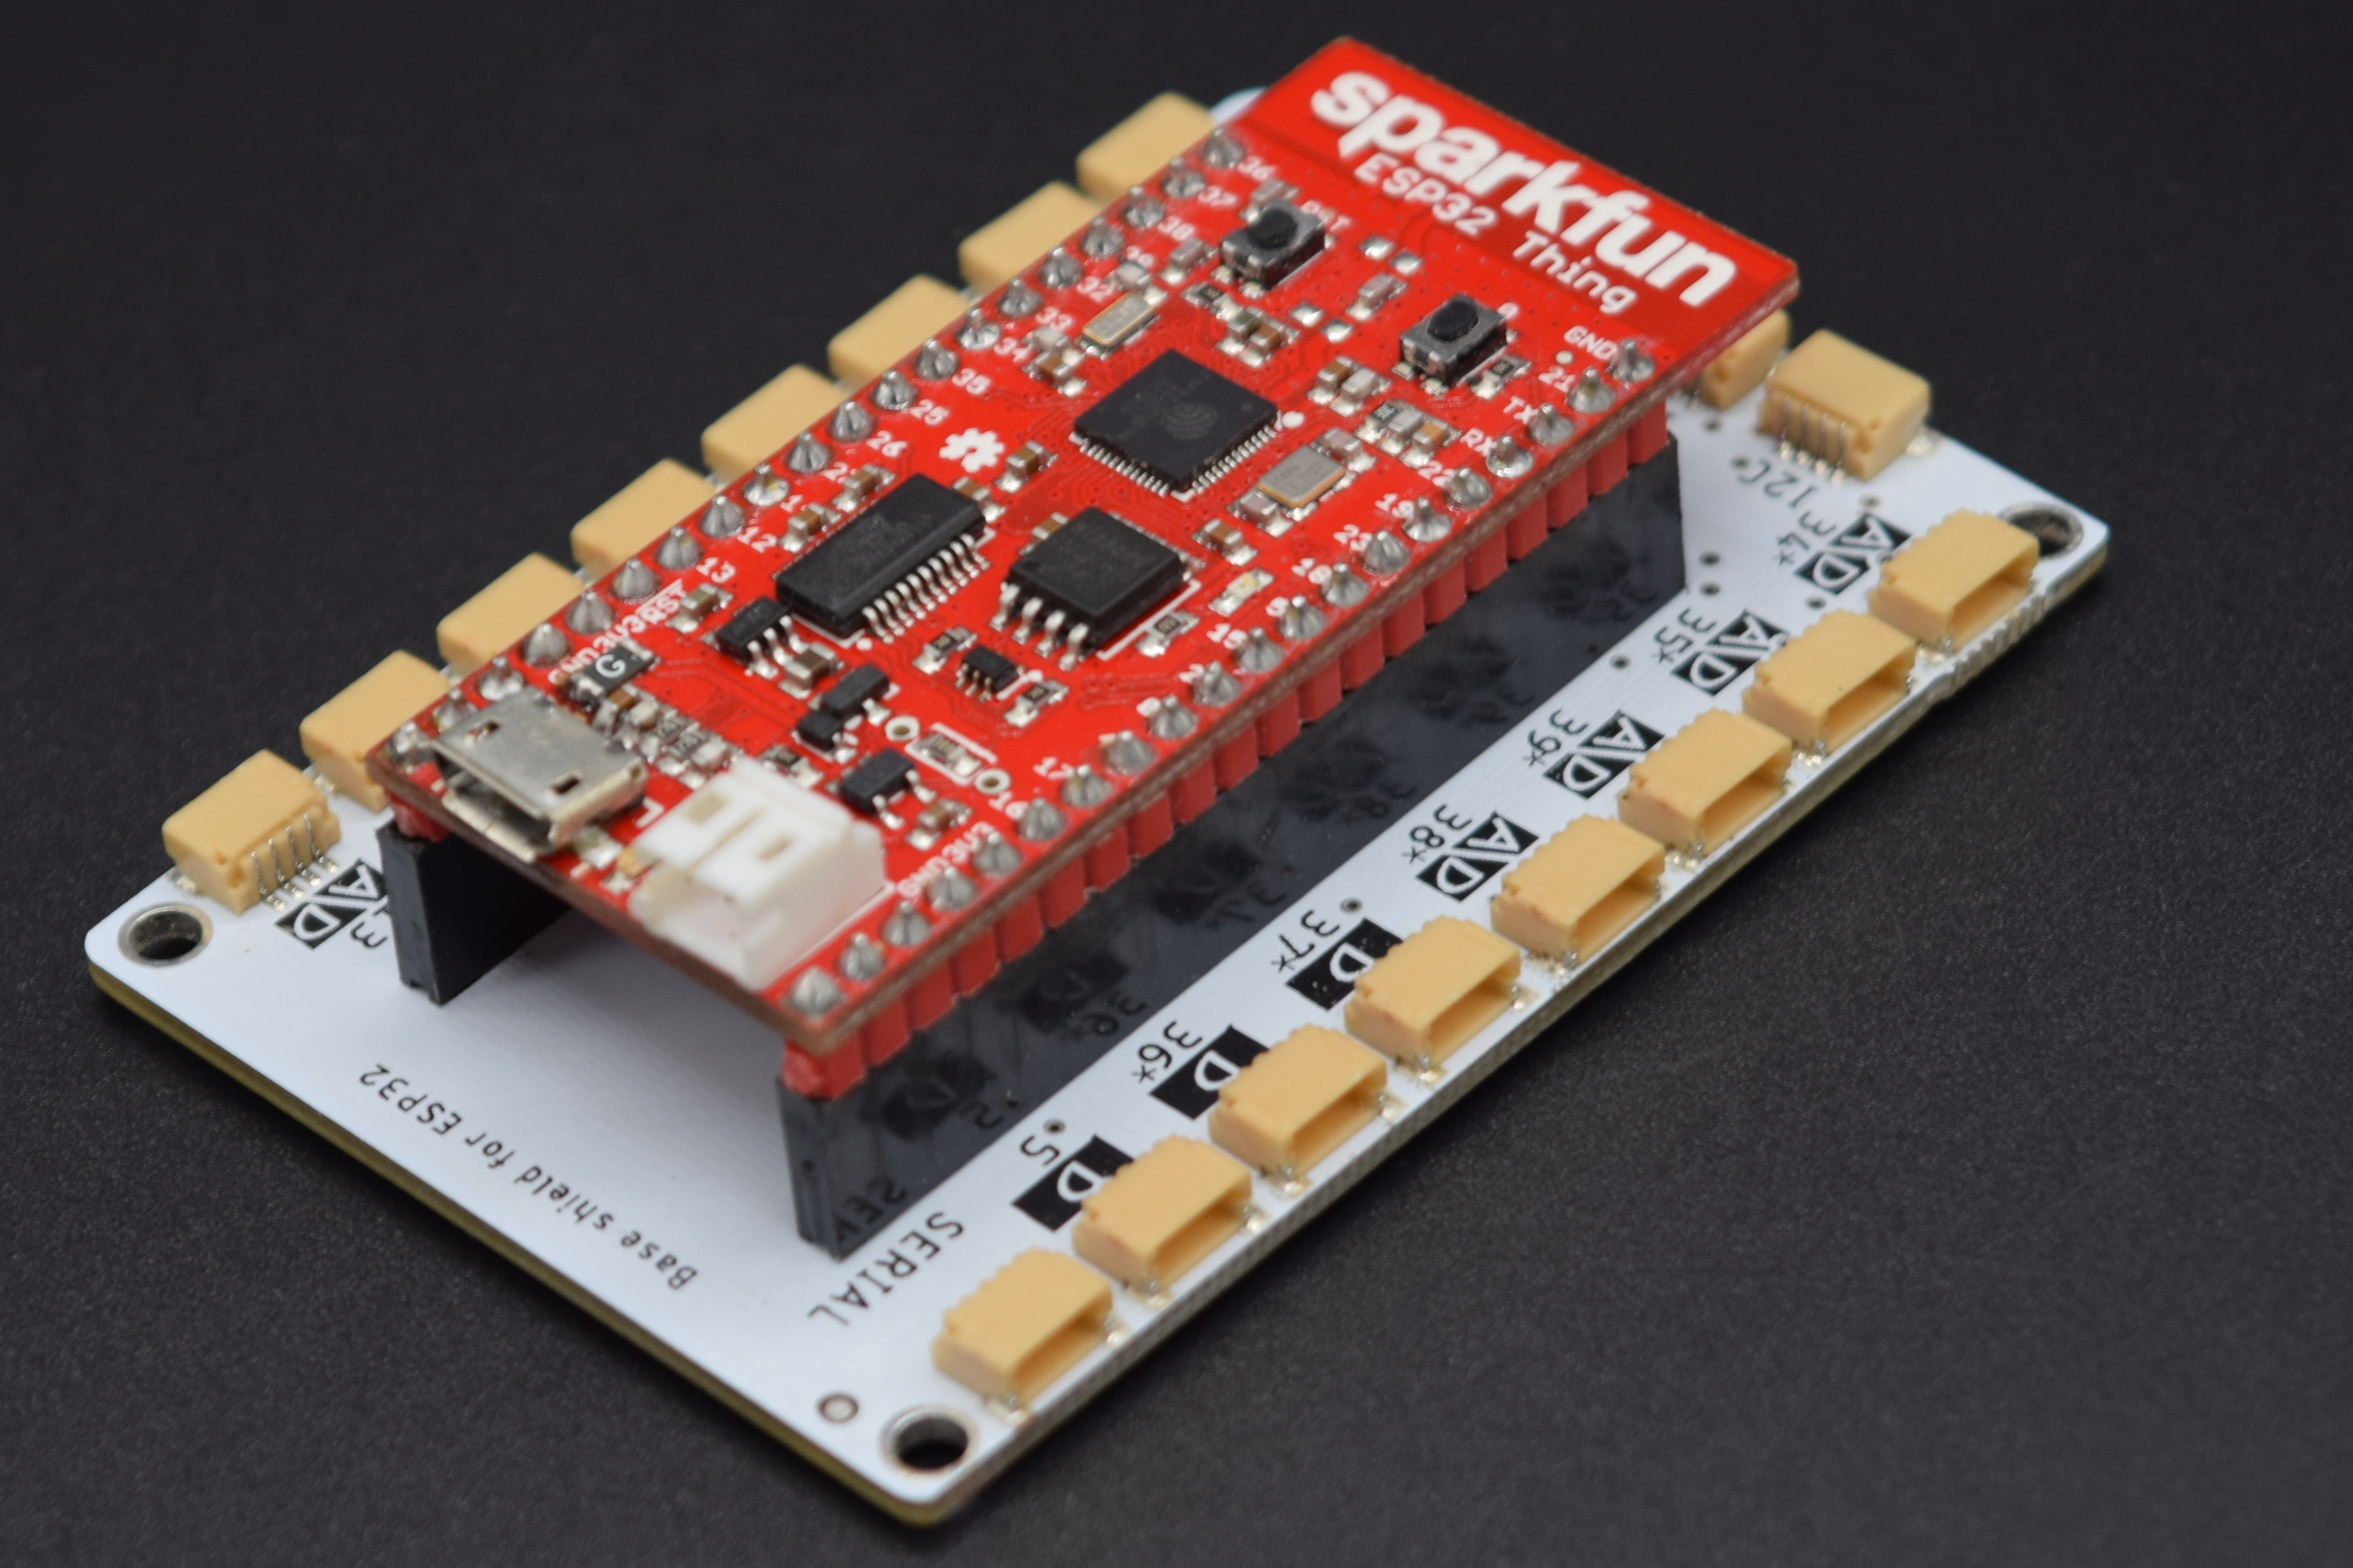
Medusa Head for SparkFun ESP 32 Thing
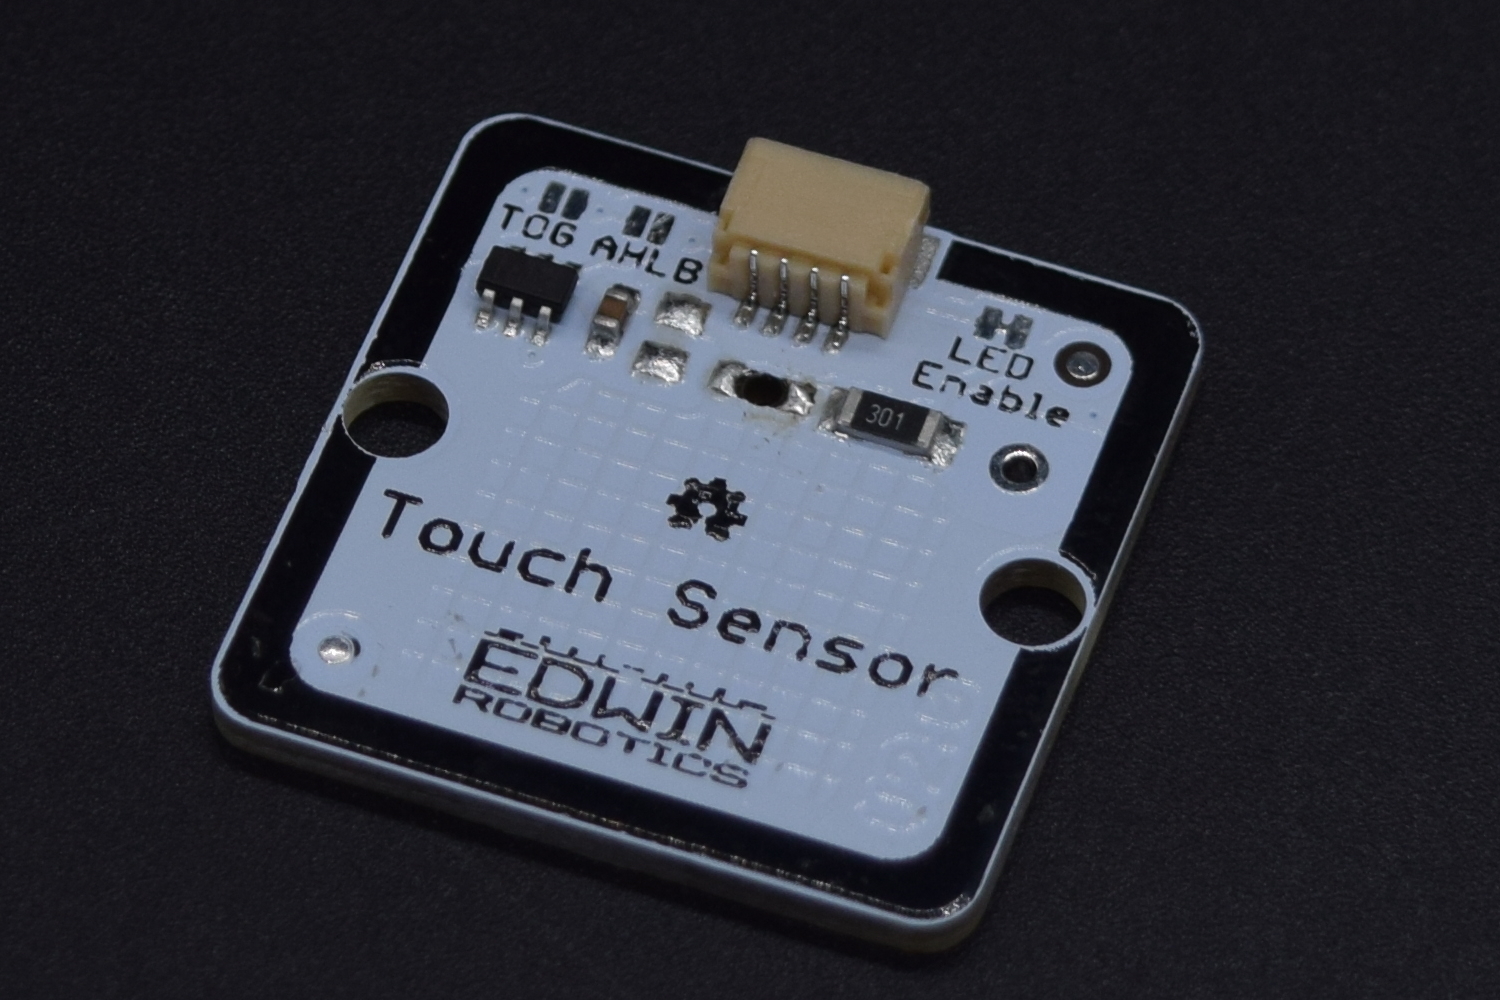
Medusa Touch Sensor
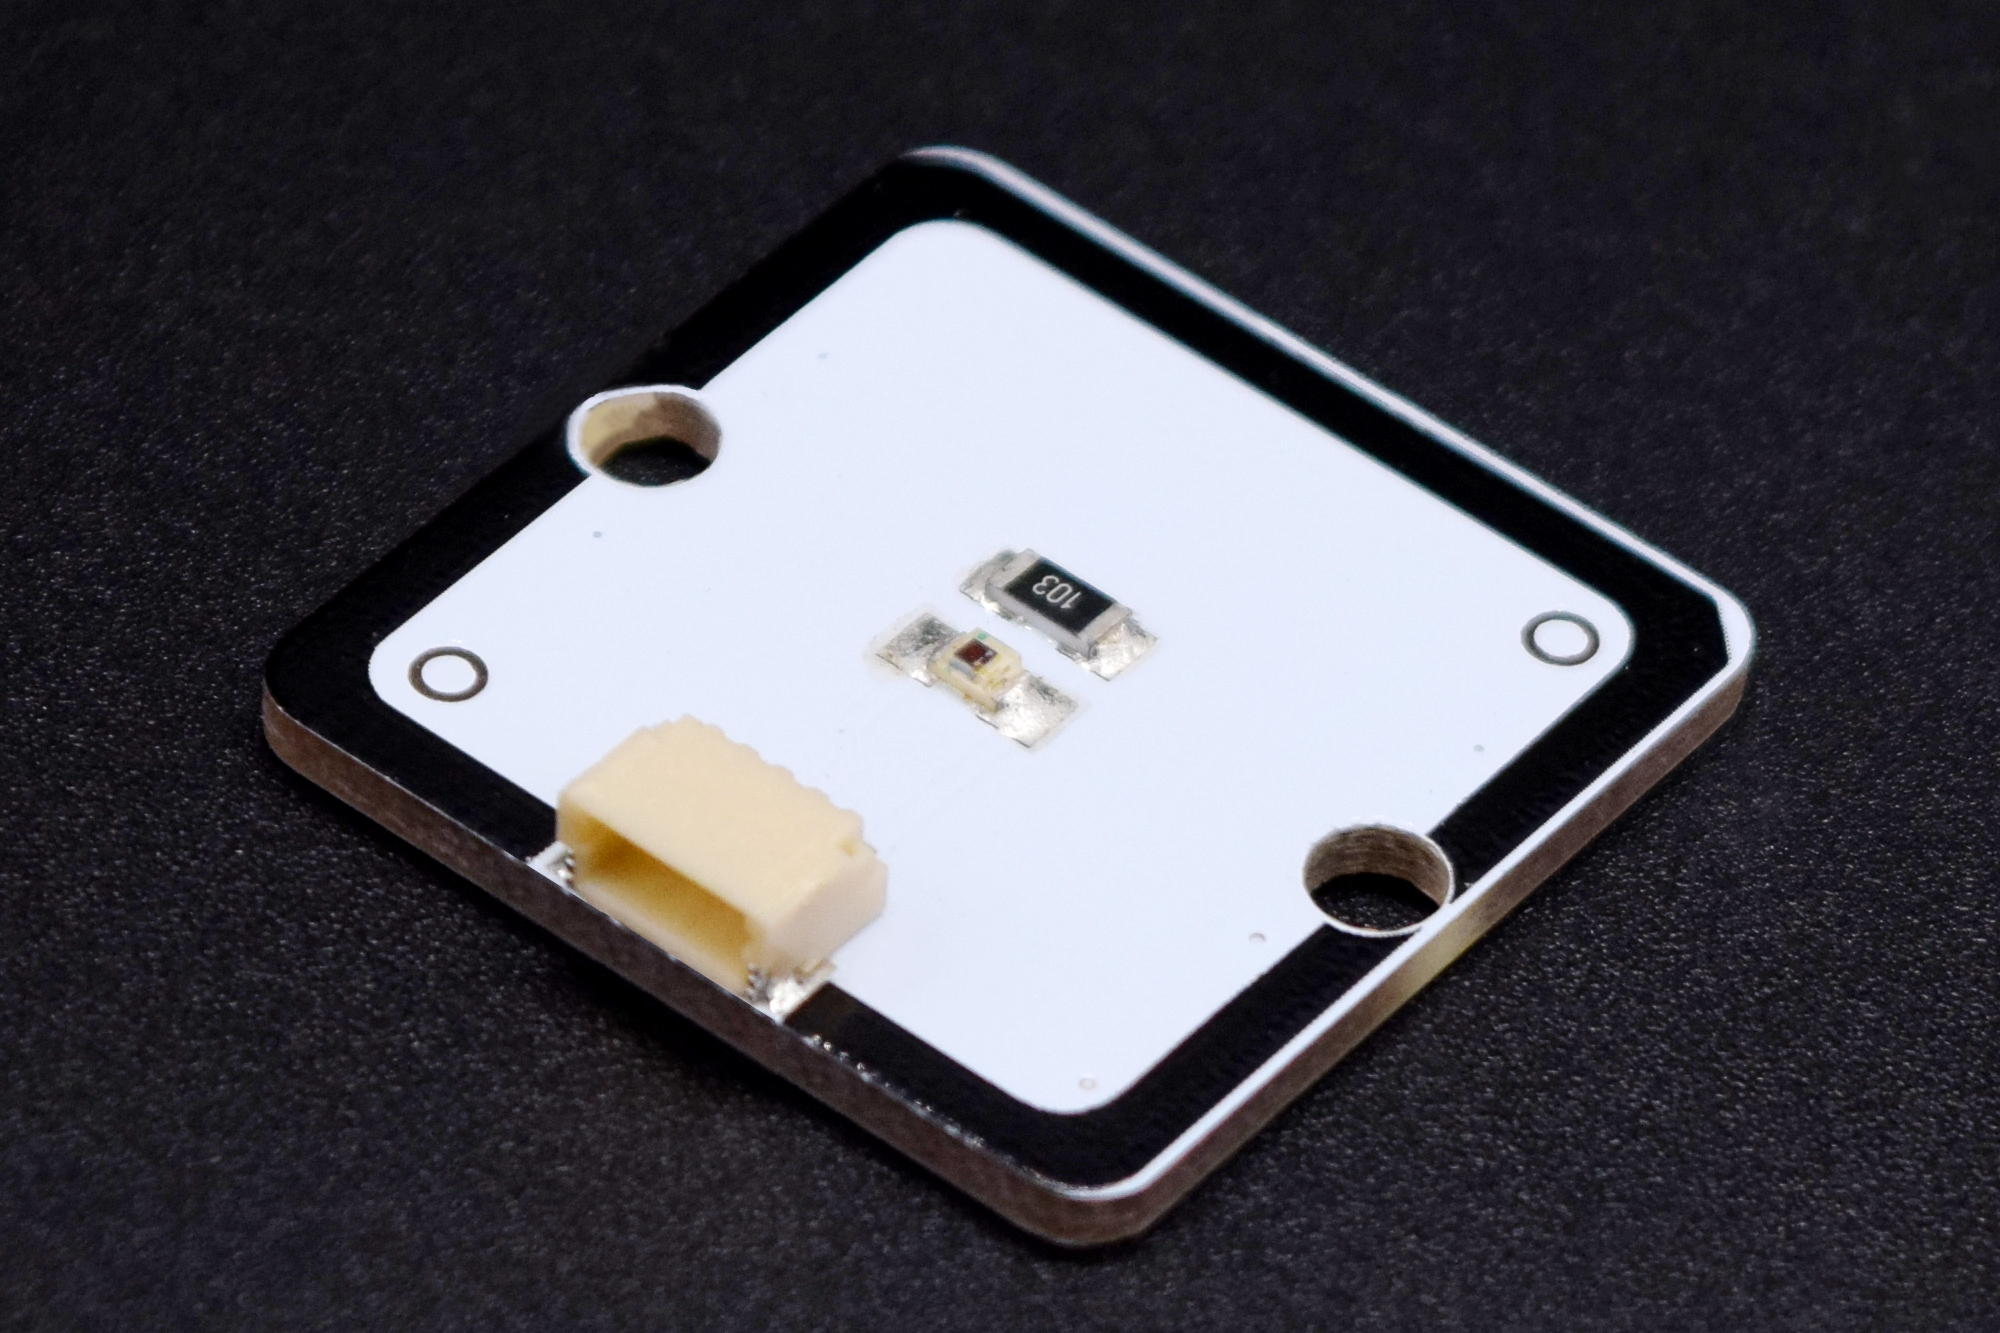
Medusa Ambient Light Sensor

Medusa Cables 500 mm
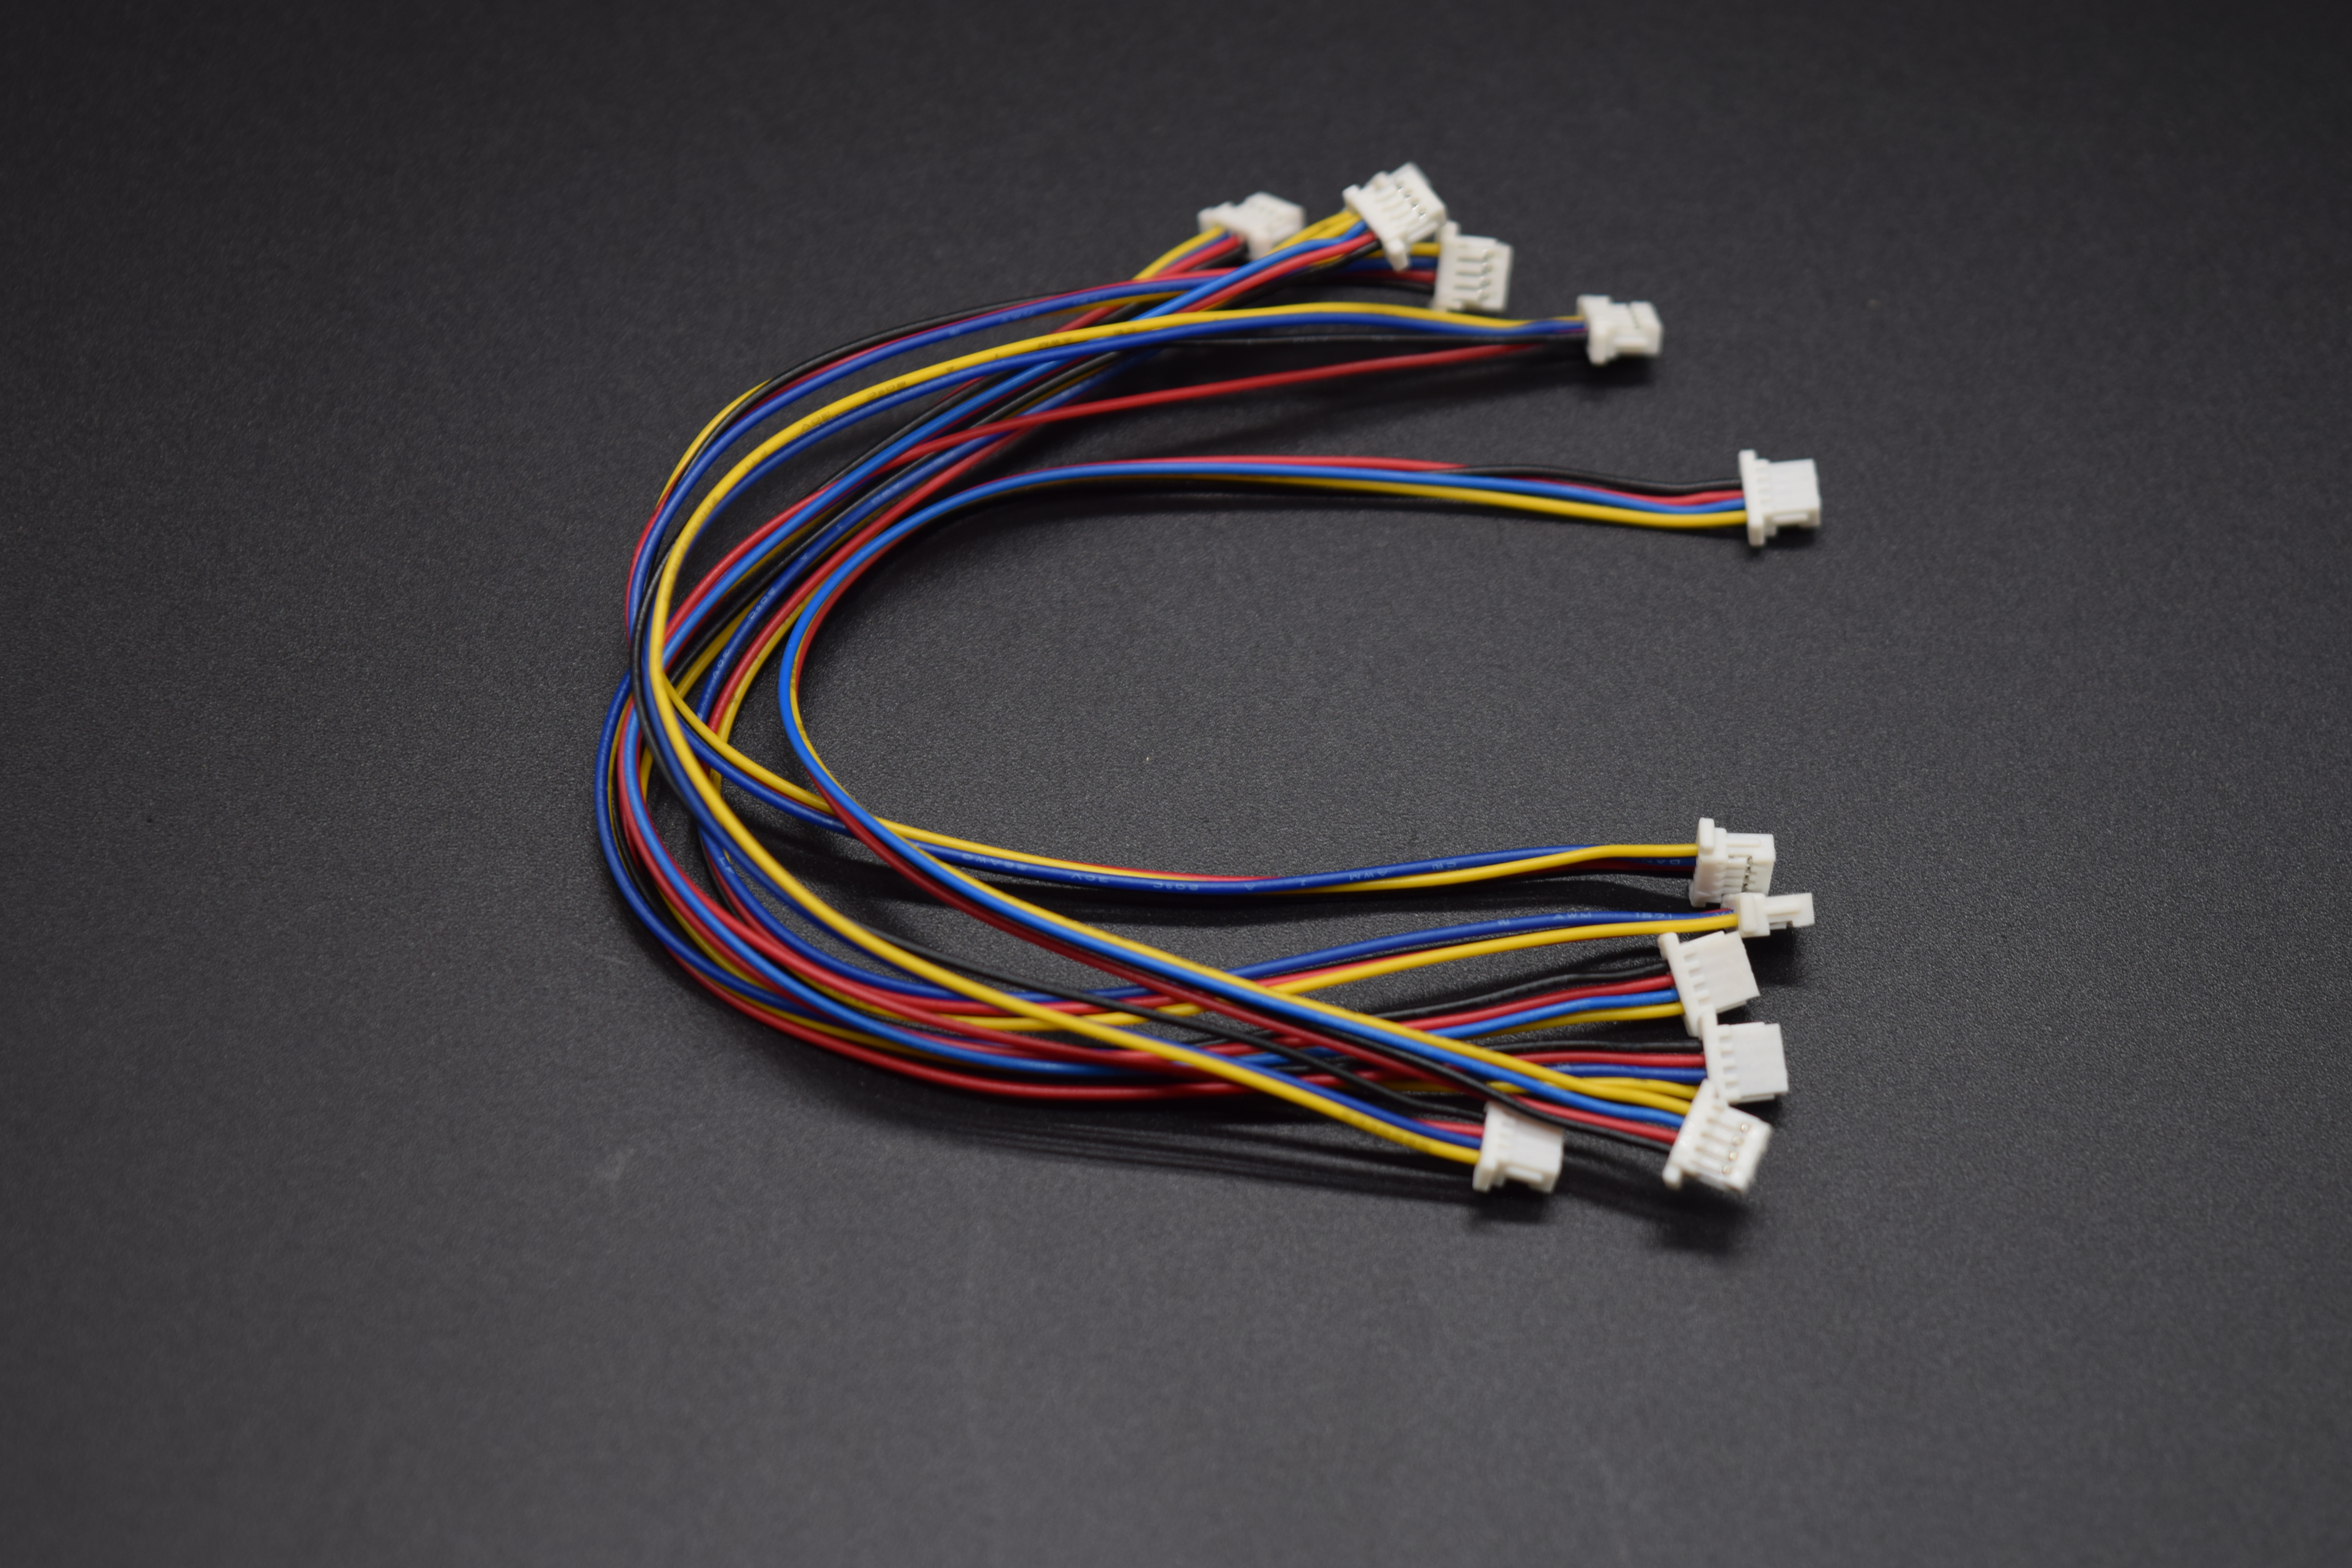
Medusa Cable 150 mm
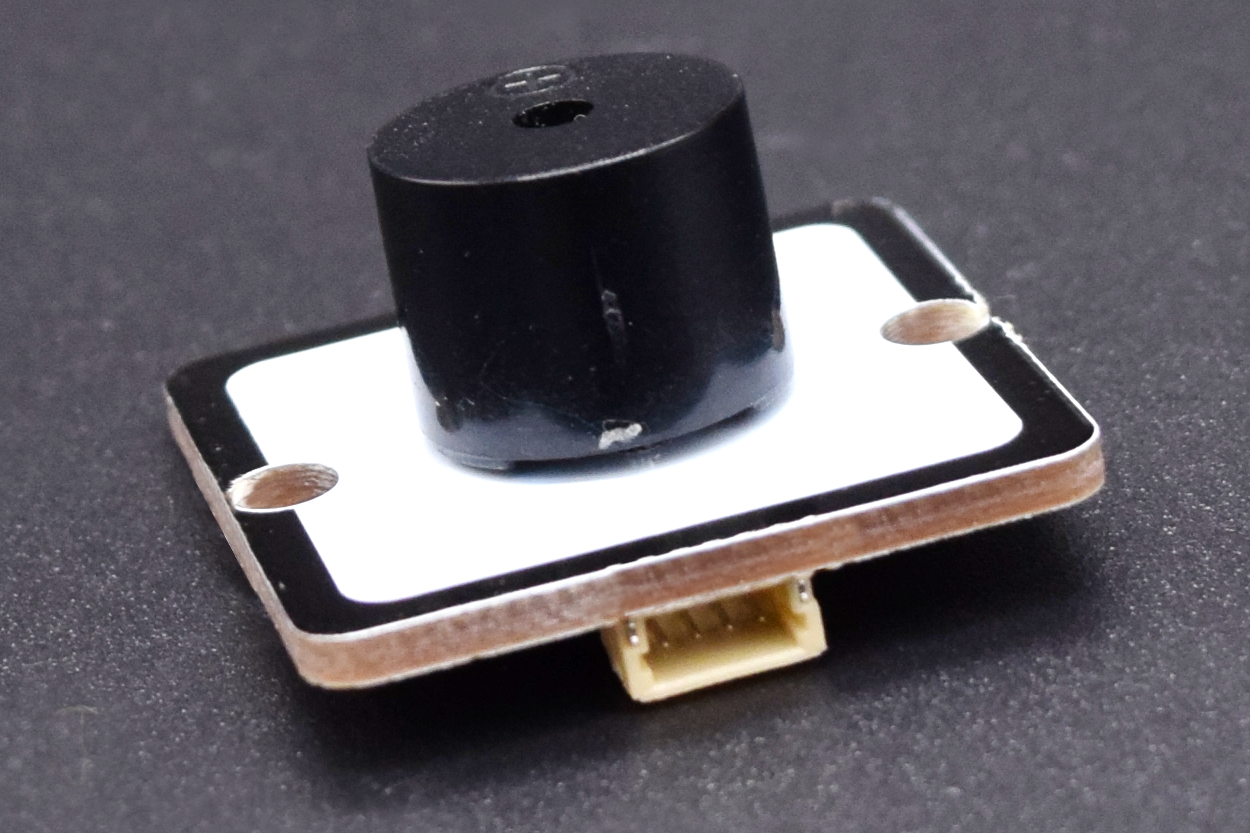
Medusa Buzzer
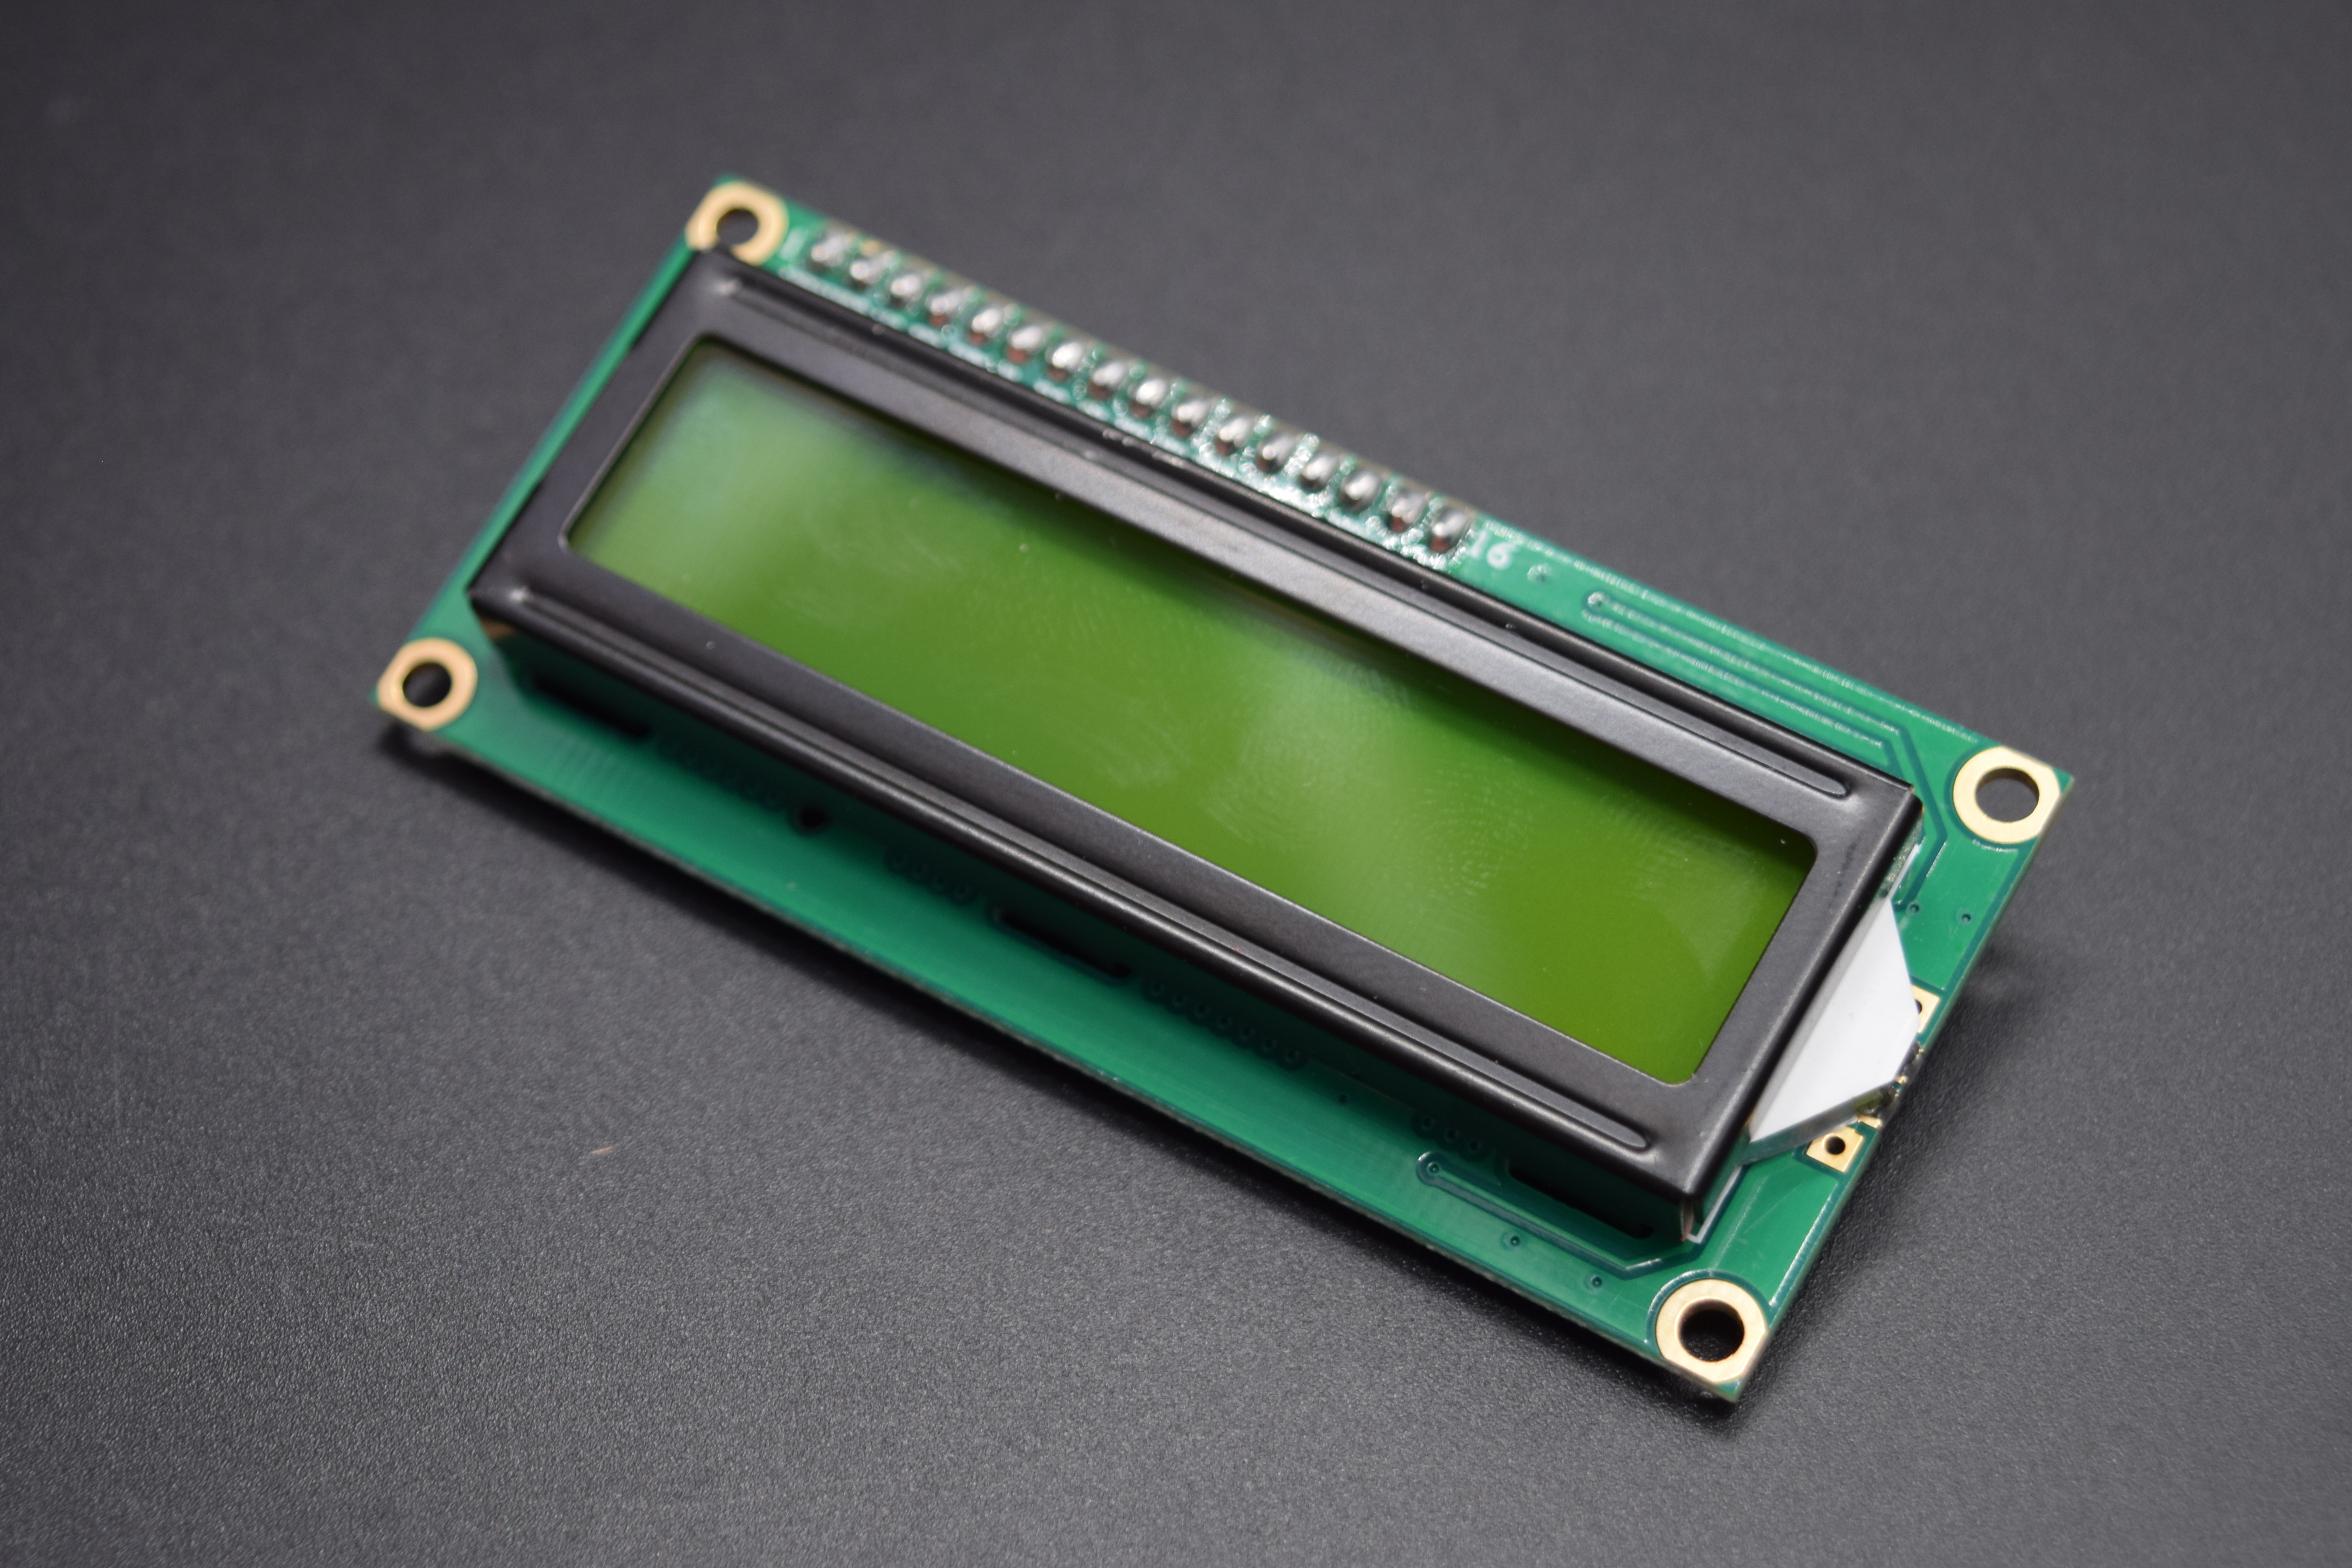
Medusa 16 x 2 LCD Display
Laser Tag –
inspired by the ironman missile arm, we have put together a simple laser arm DIY using the following components:
- Medusa Head for SparkFun ESP 32 Thing
- Medusa Laser Diode
- Medusa Push Button
- Medusa LCD Display
- LiPo Battery
- Crepe Bandage to Wrap the components around
Medusa SparkFun ESP 32
Medusa Push Button Sensor
Medusa 16 x 2 LCD Display
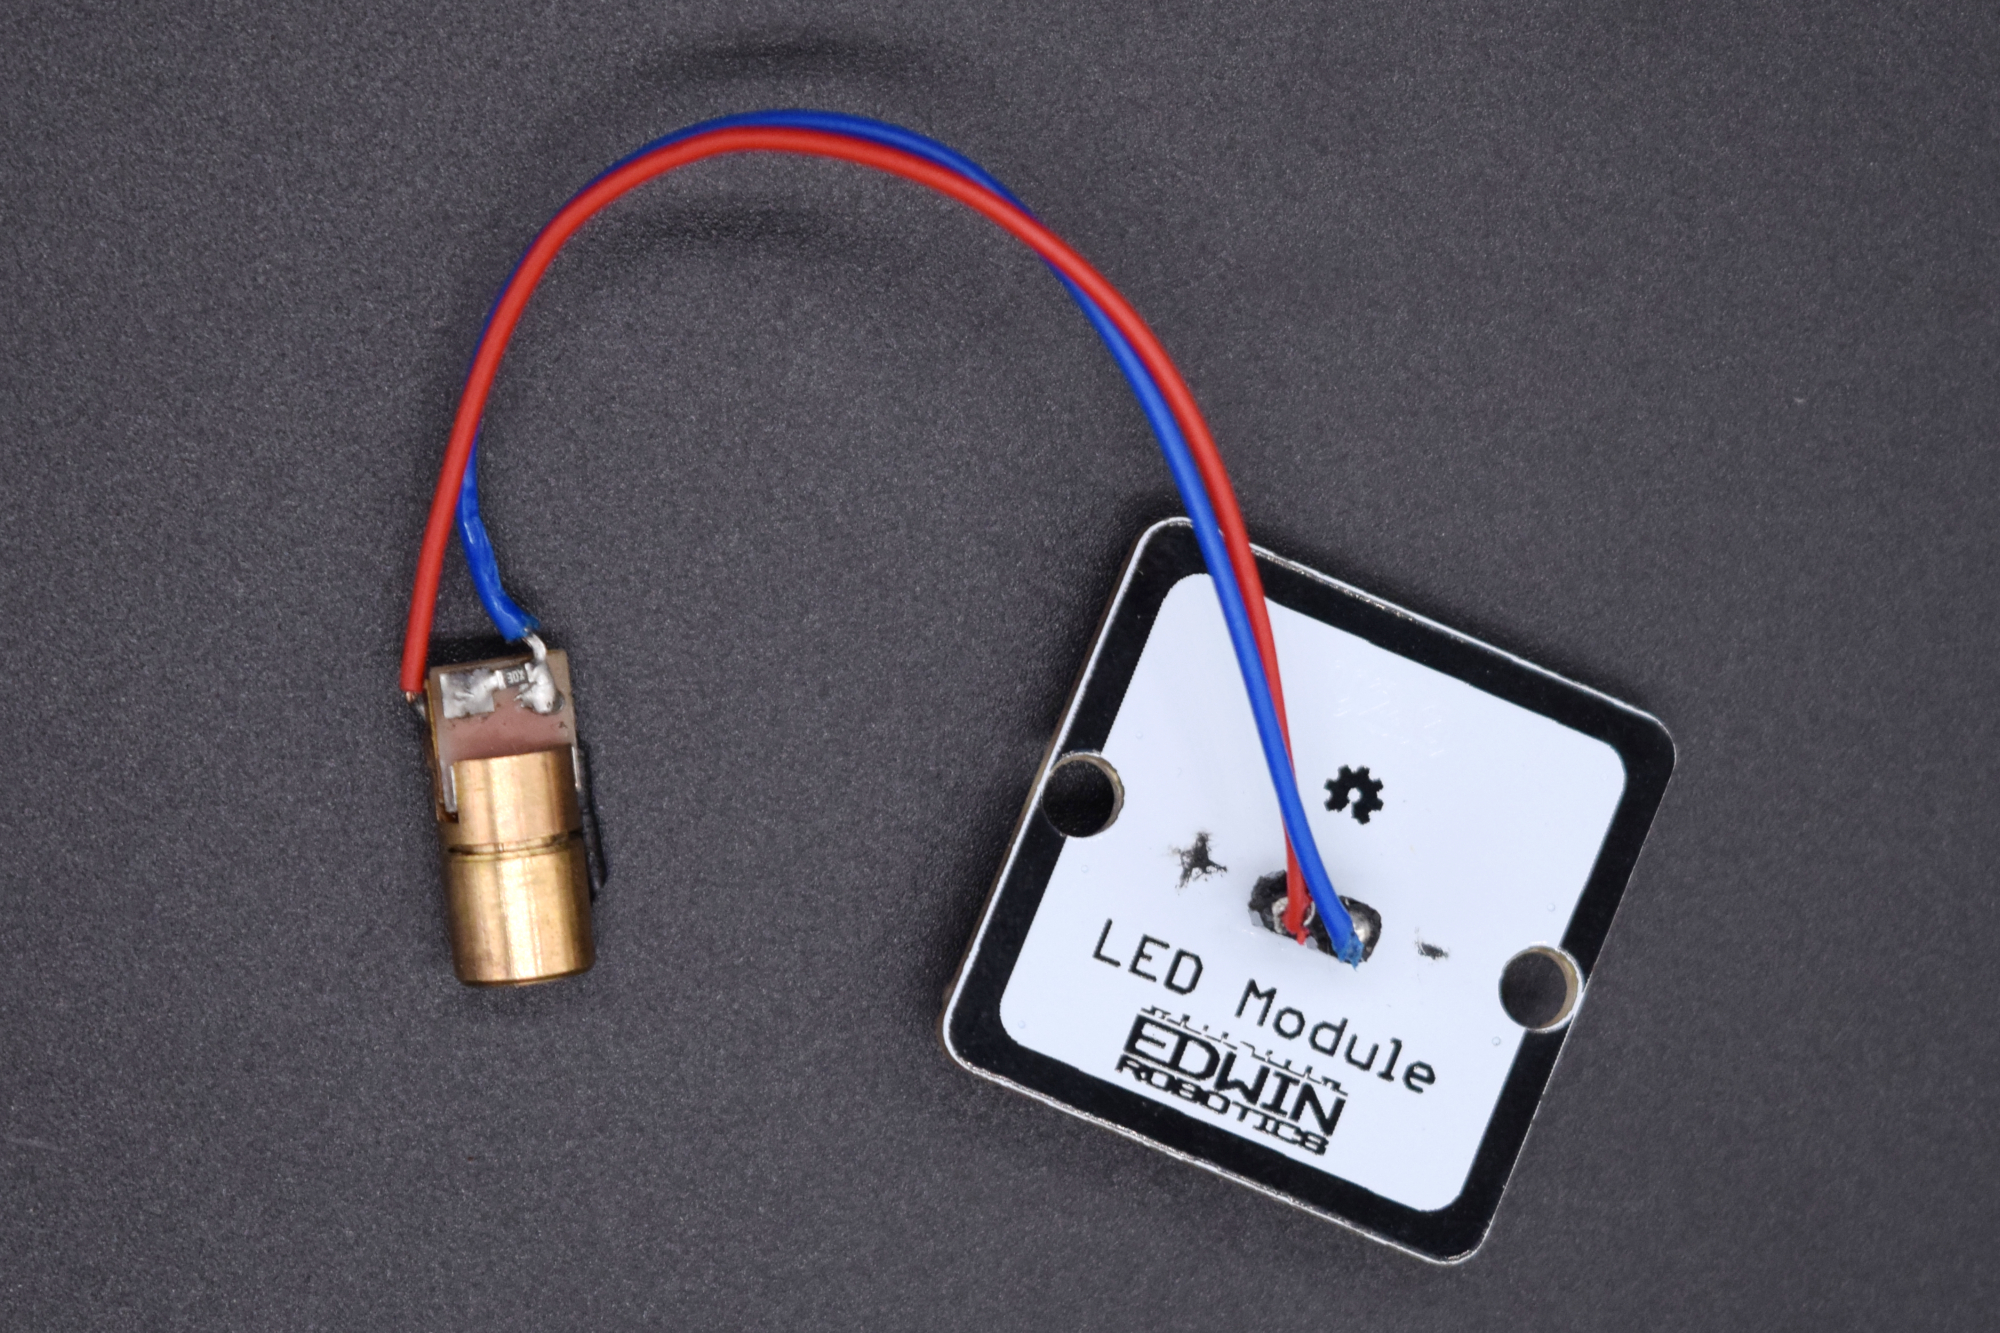
Medusa Laser Diode
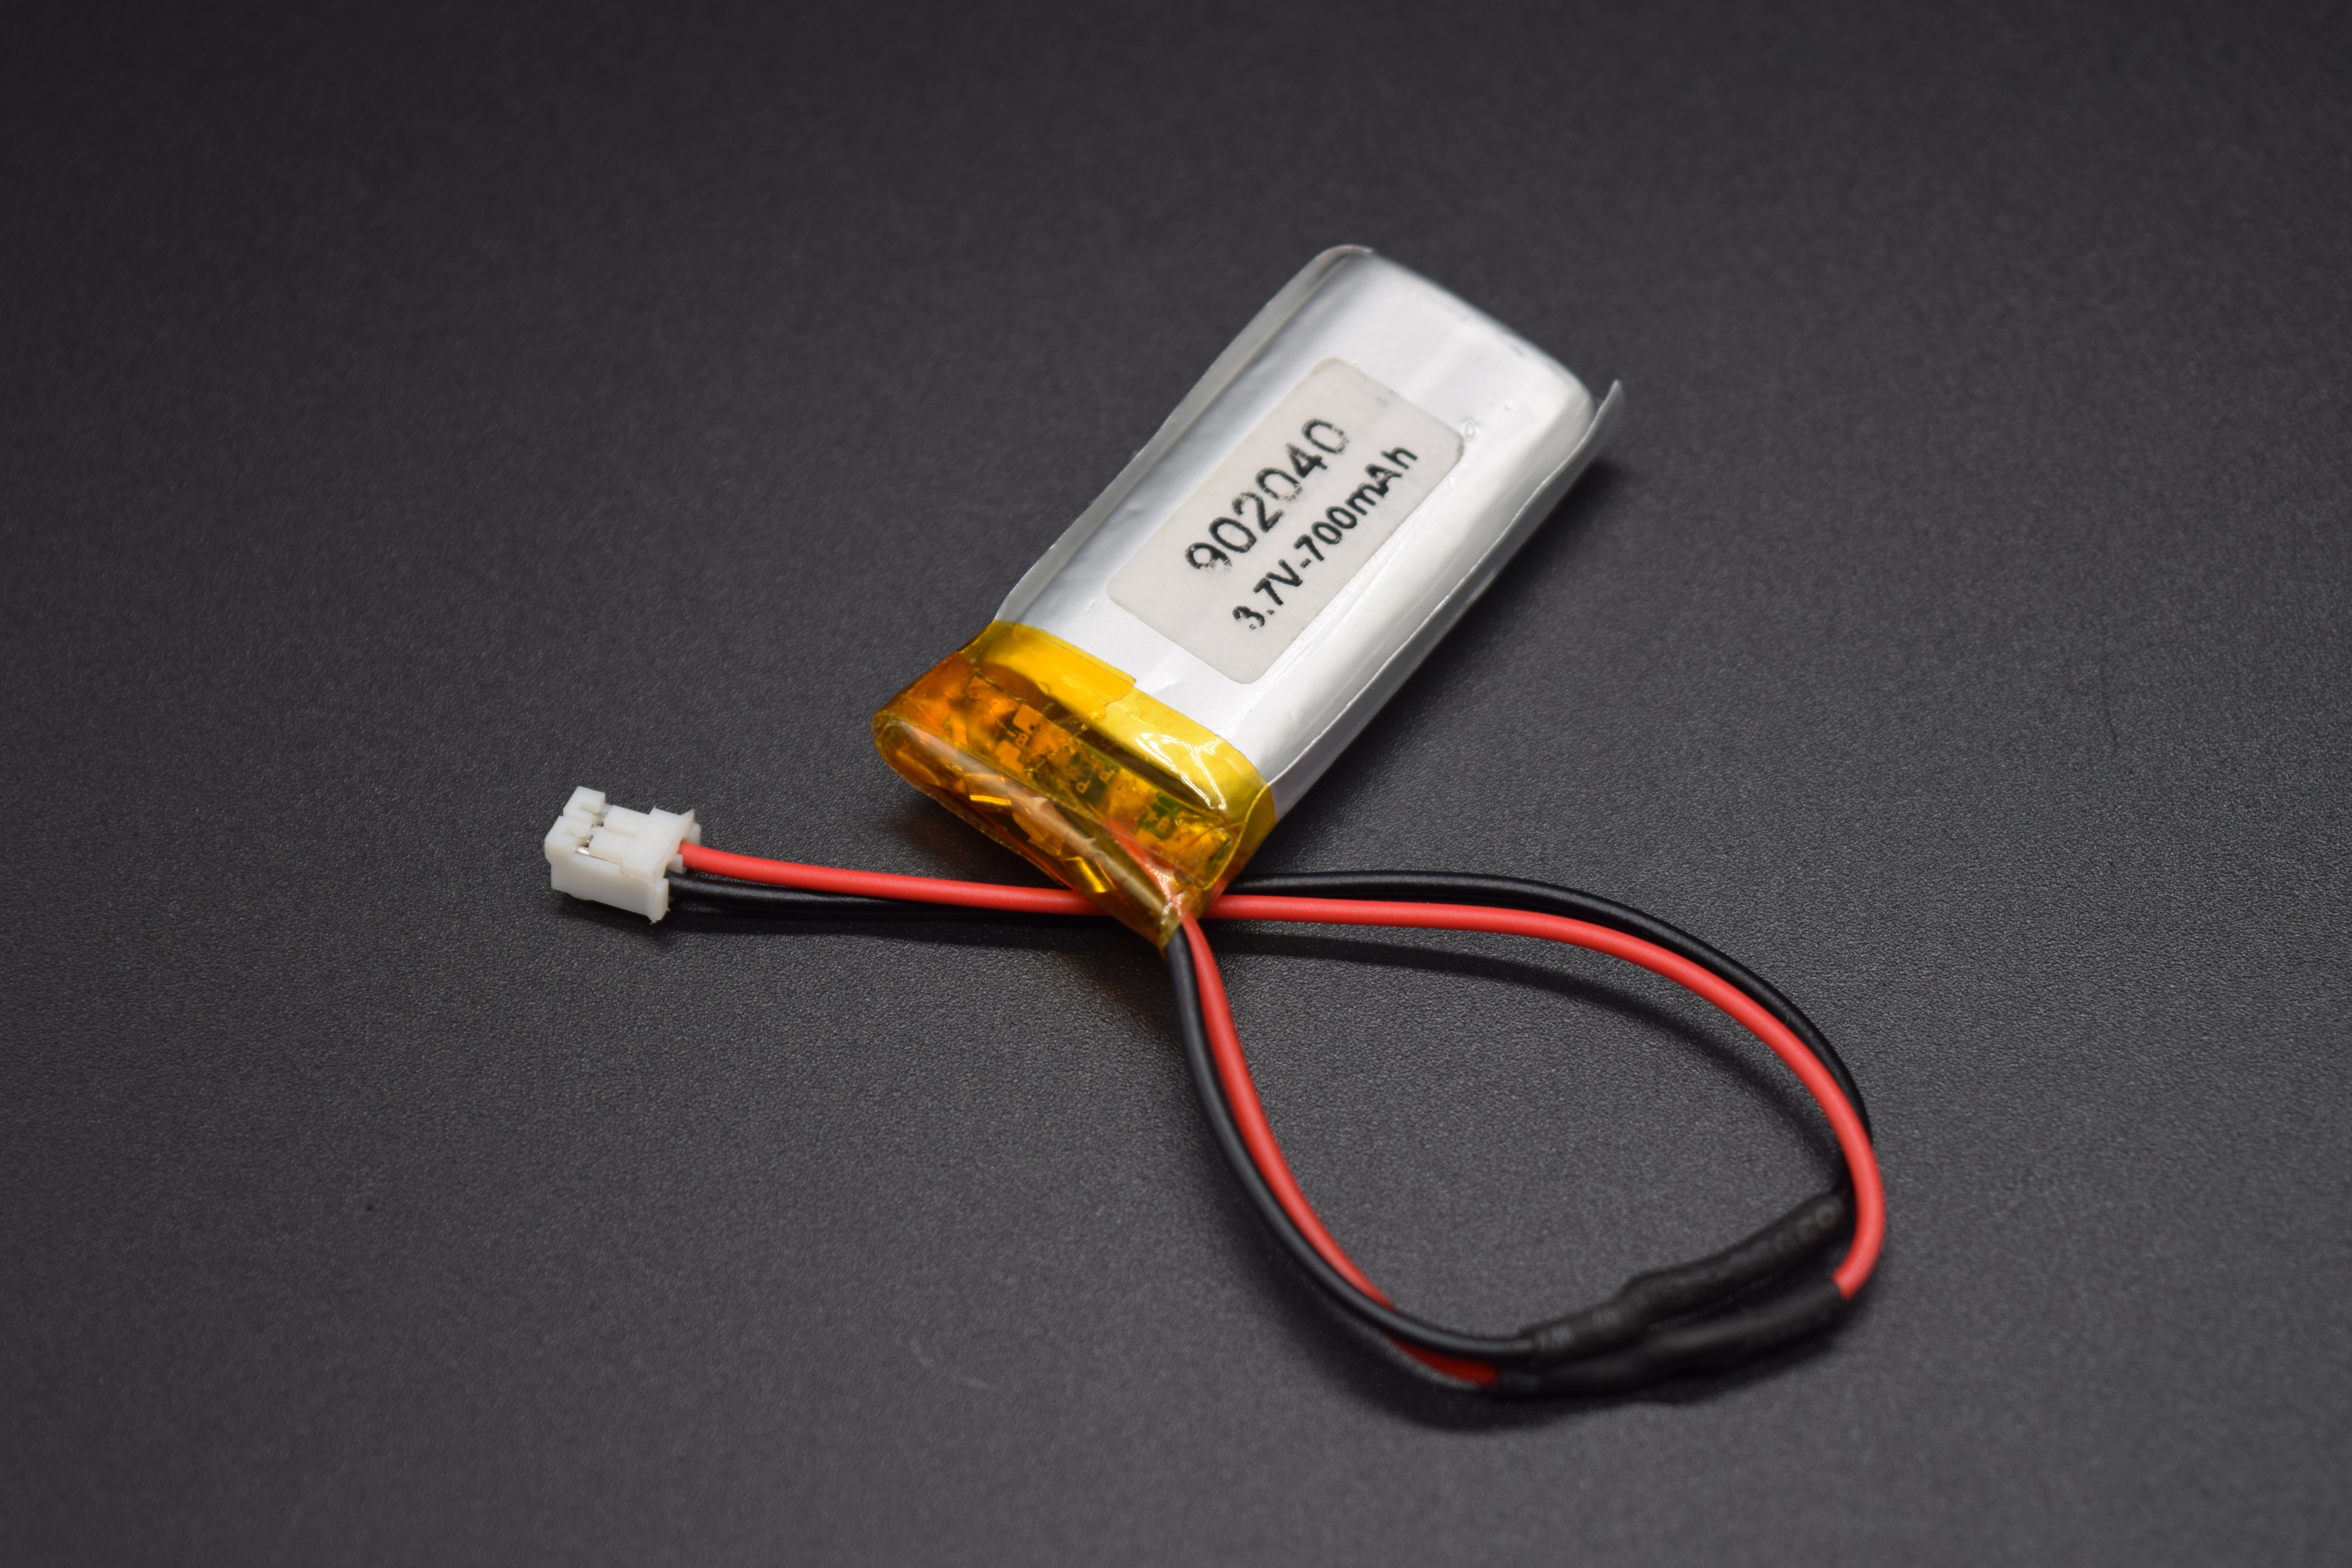
Lithium Polymer Battery
Medusa Cable 150 mm
NOTE :  For the exact same implementation of the project you will need 2 Medusa ESP 32 Boards along with
        2 Medusa LCD Display
Building Instructions
Dartboard
1) When it comes to making the dartboard , the material of choice is cardboard. Cut the cardboard into the shape of your choice and cover it with colored paper or paint.
CardBoard Cutouts to Make the DartBoard
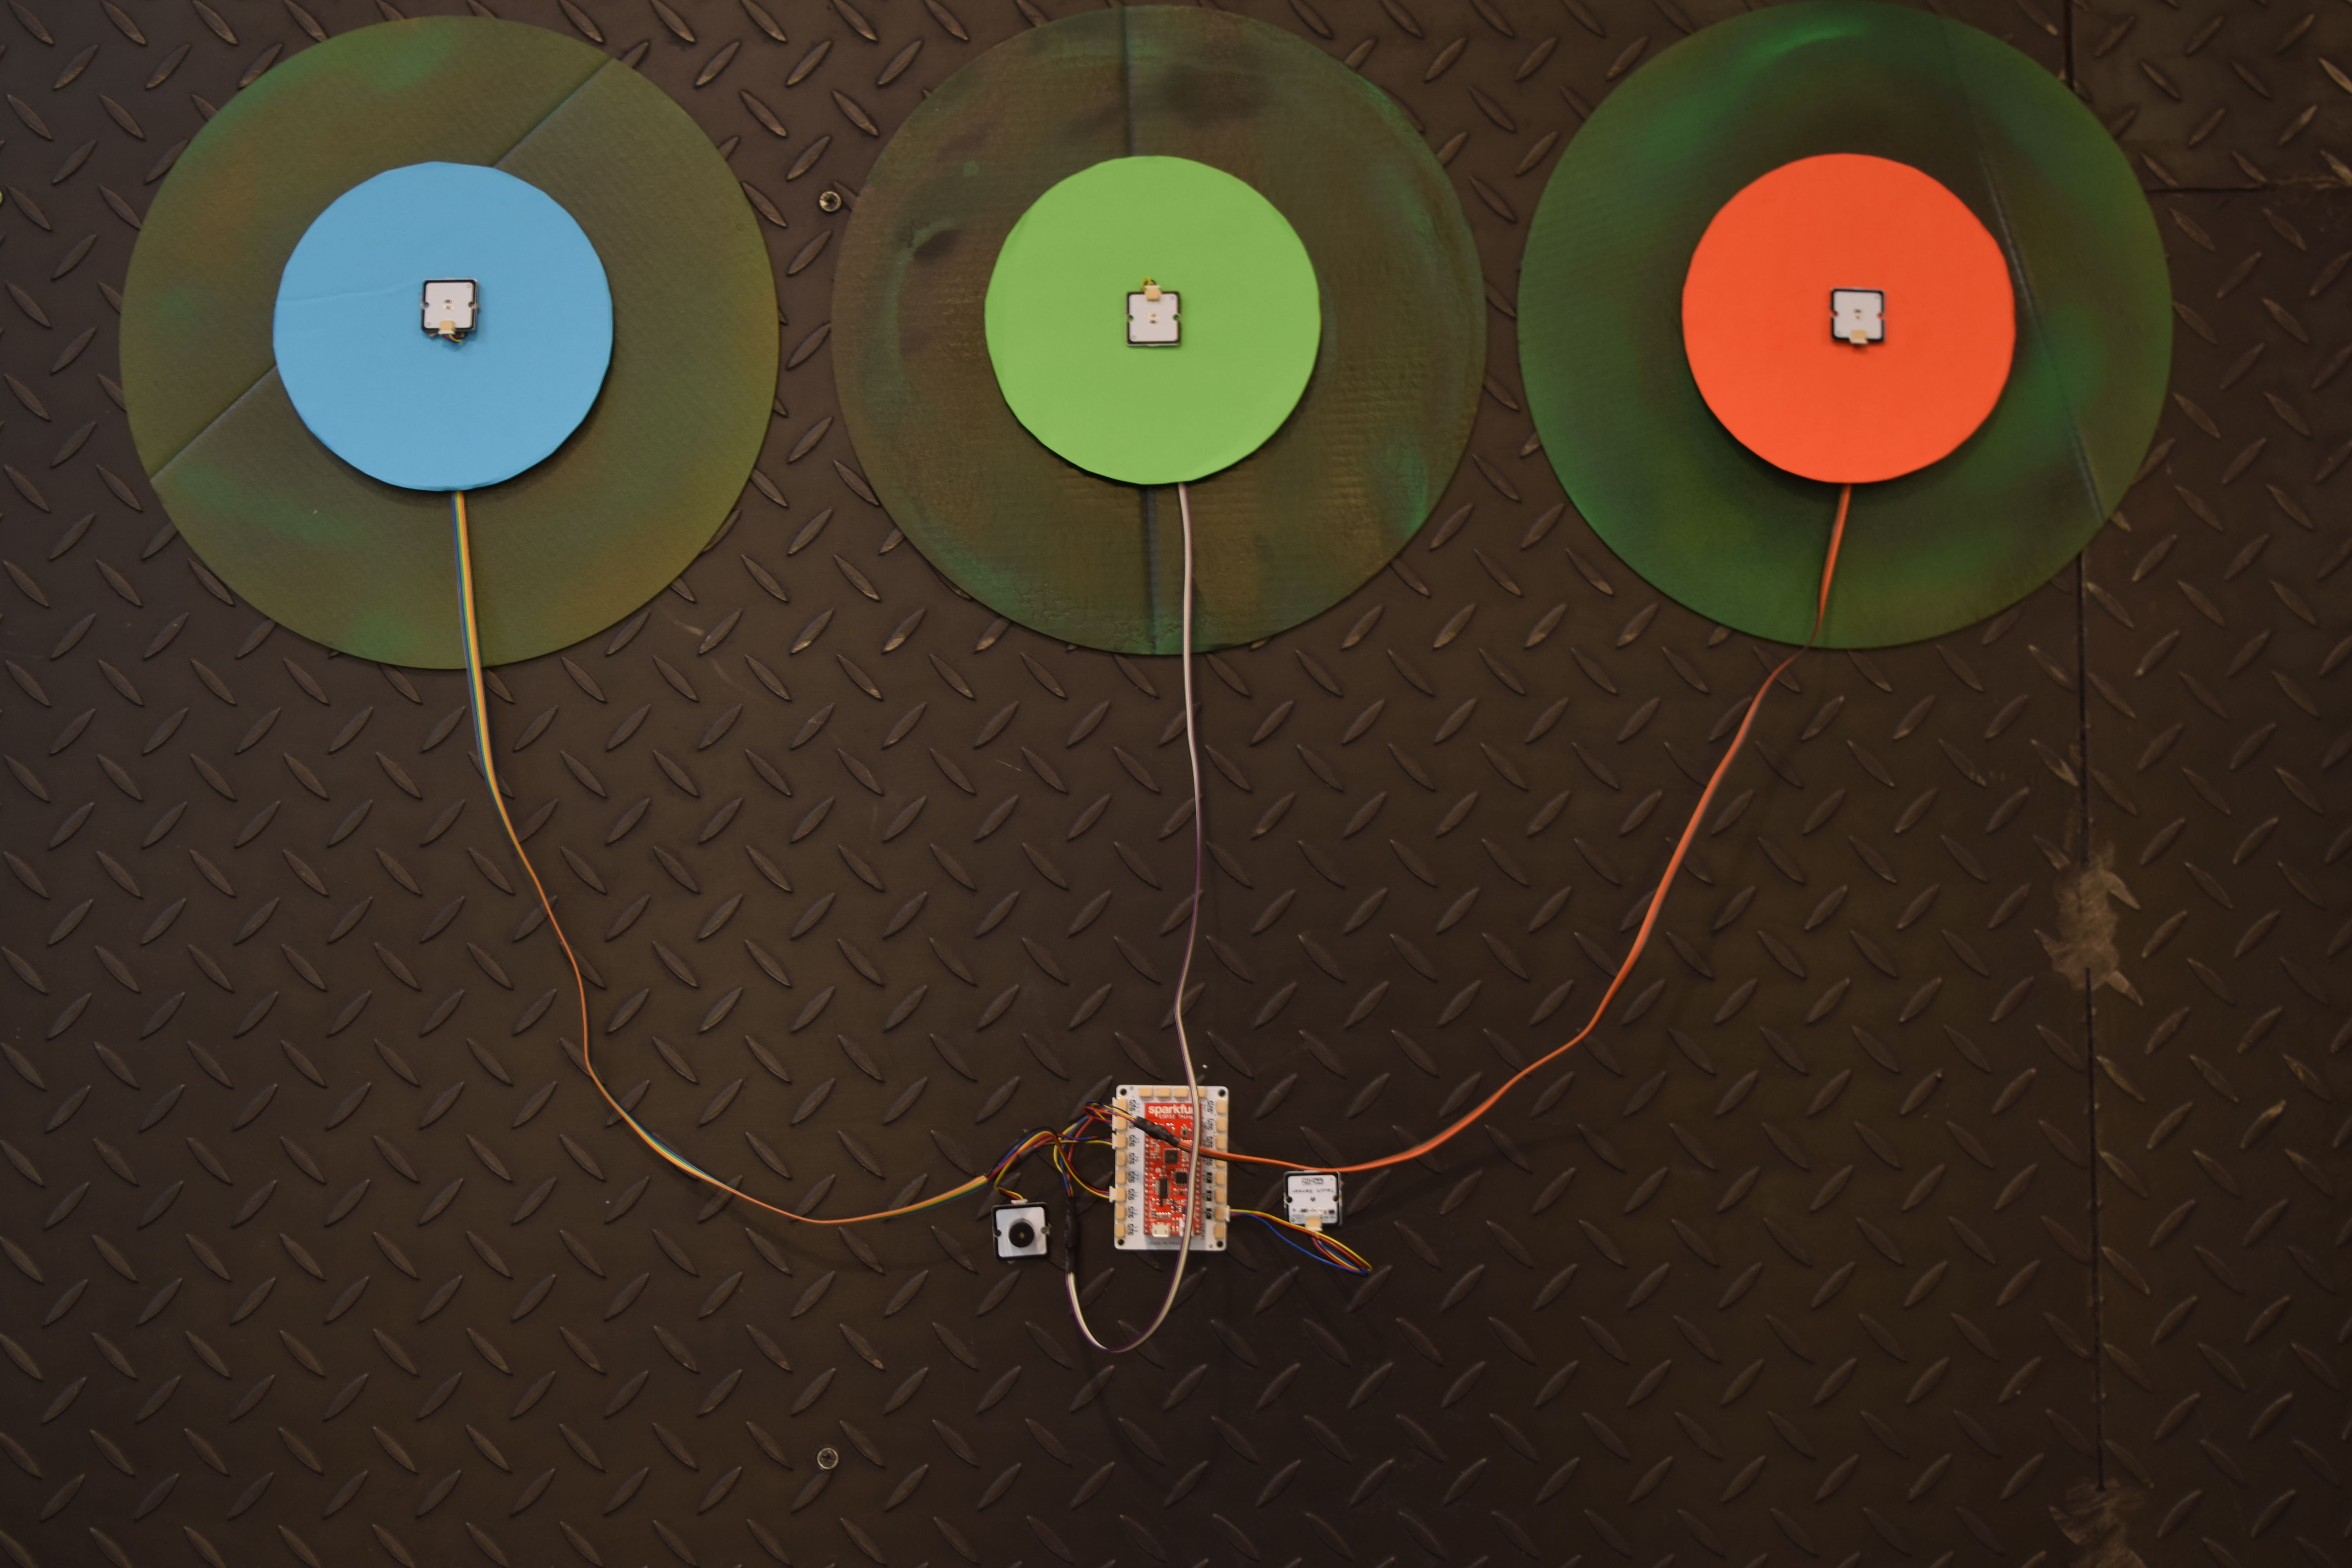
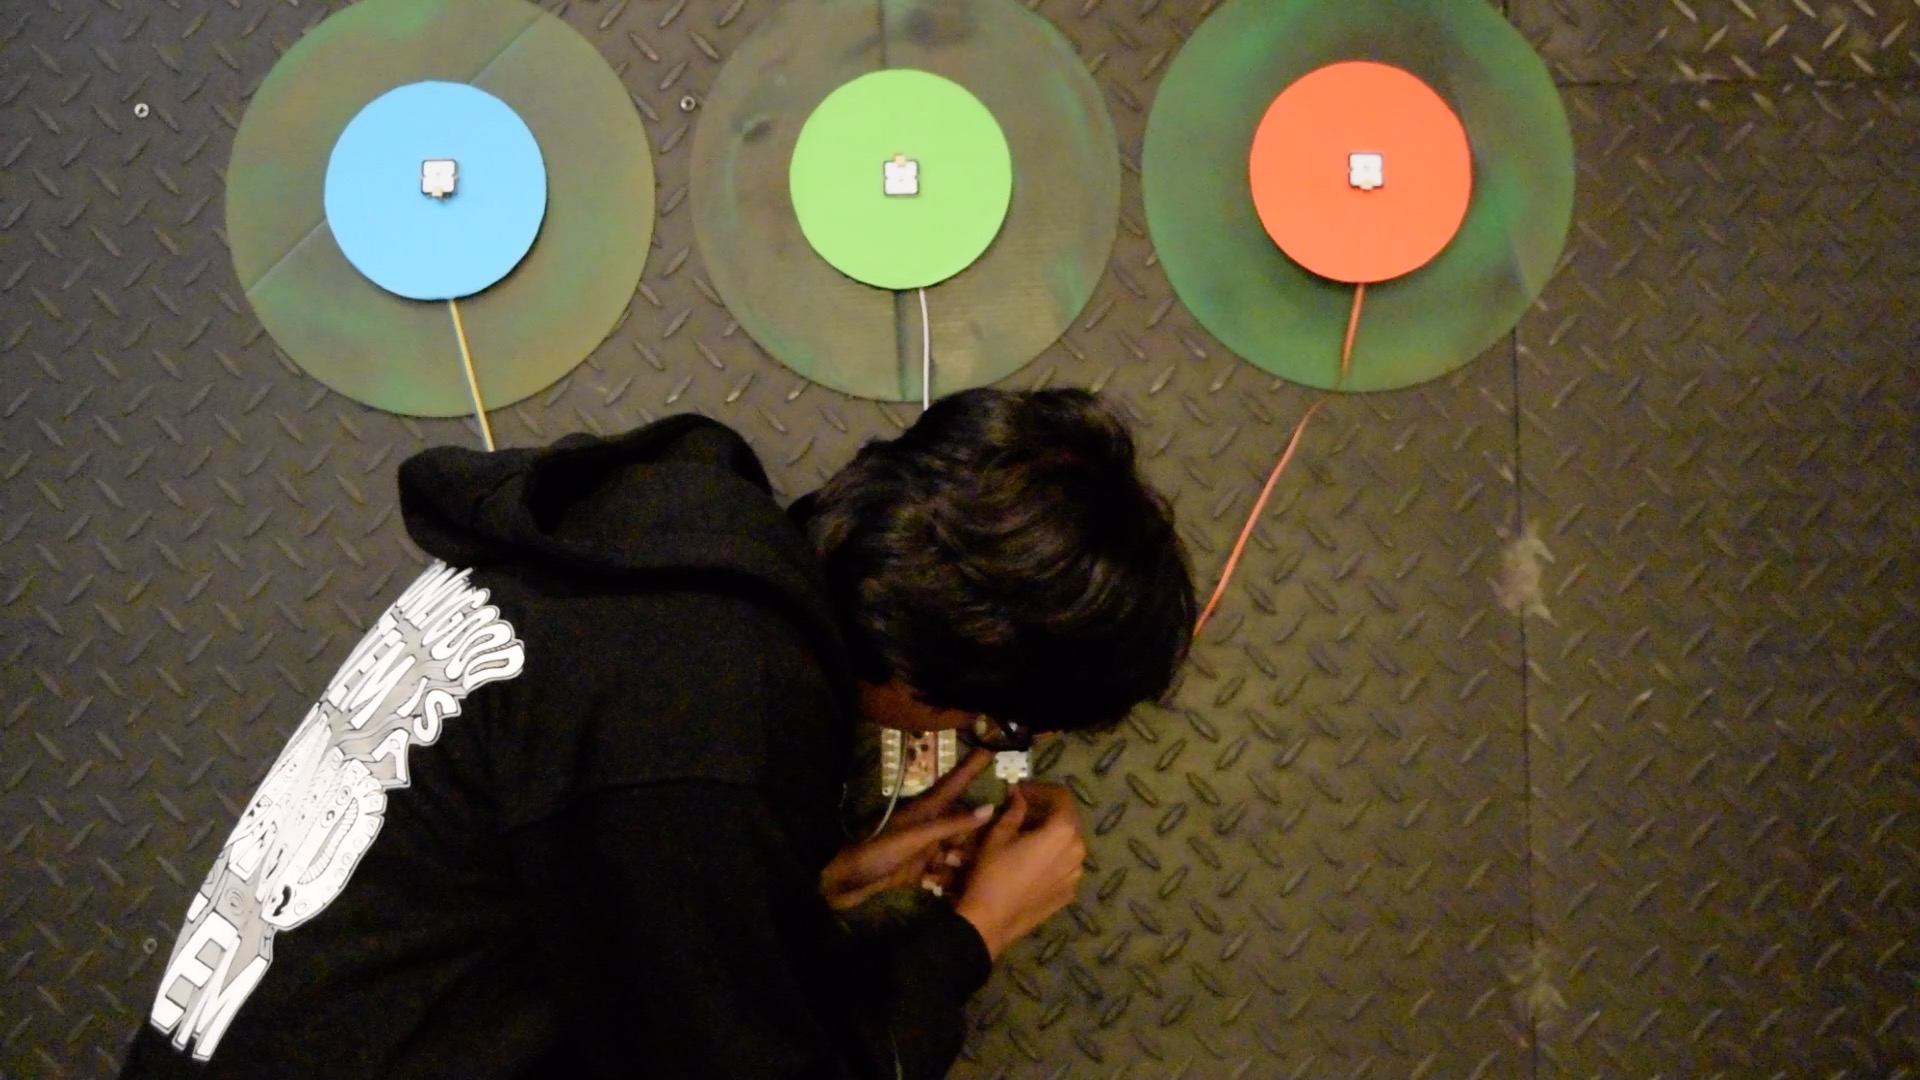
2) Drill a hole into the middle so you can pull out a wire (Medusa 500mm Cable) which is connected to the Medusa Ambient Sensor. Using a double-sided tape, attach the Sensor to the middle of the dart board.
Fixing of Ambient Light Sensor on CardBoard
Repeat similar steps for the n-number of boards you require to make the game fun. We are using 3 boards in this example.
3) Fix the rest of the components into the ports of choice depending on the program. Based on the example code provided, the following components are connected to the Medusa Head for SparkFun ESP 32 Thing
Medusa Ambient Light Sensors- 33, 32, 25
Medusa Touch Sensor – 5
Medusa Buzzer – 14
Medusa LCD Display- I2 C
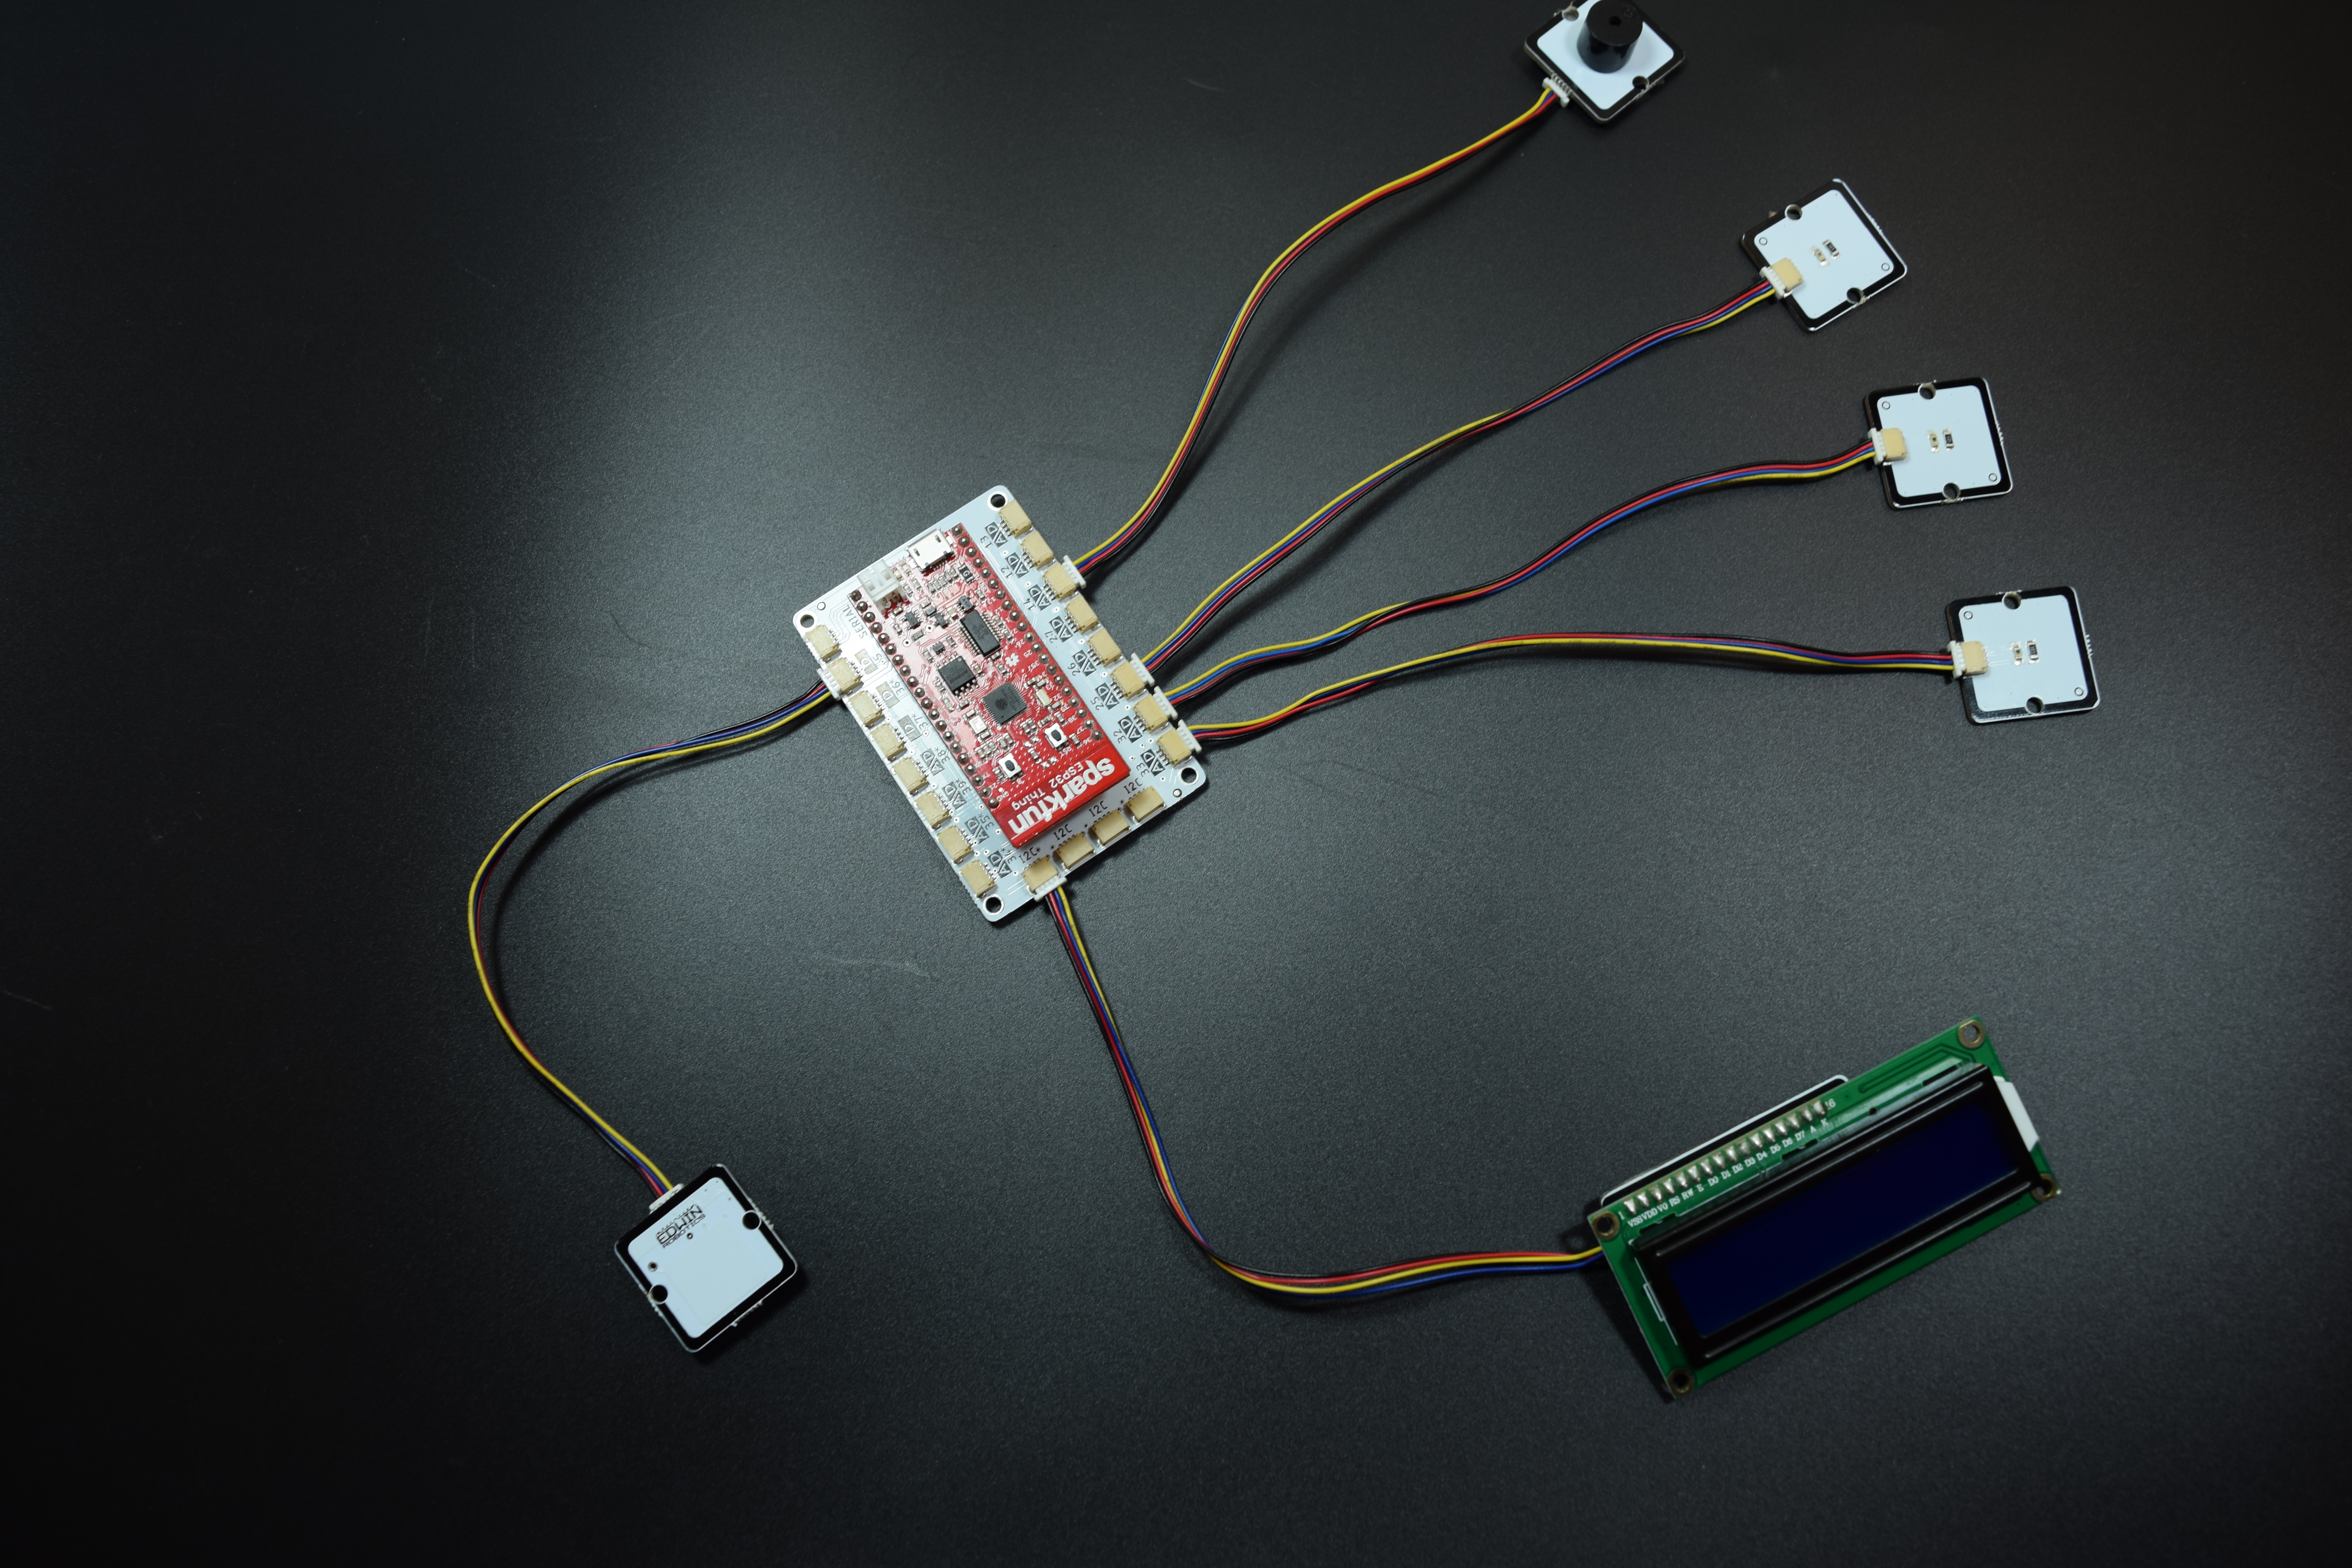
Component Connection for DartBoard
4) Using double sided tape fix it on the wall. And connect a power bank to power the circuit.
Fixing the Setup on Wall using Double Sided Tape
NOTE :  Total load required in this circuit setup is minimal , leading to automatic switching of
        power bank in some cases, this can be overcome by connecting another loade like mobile phone
        on to the power bank.
Laser Arm
1)Make the following circuit connection to the Medusa Head for SparkFun ESP 32
Medusa Laser Diode – 33
Medusa Push Button – 32
Medusa LCD Display- I2C
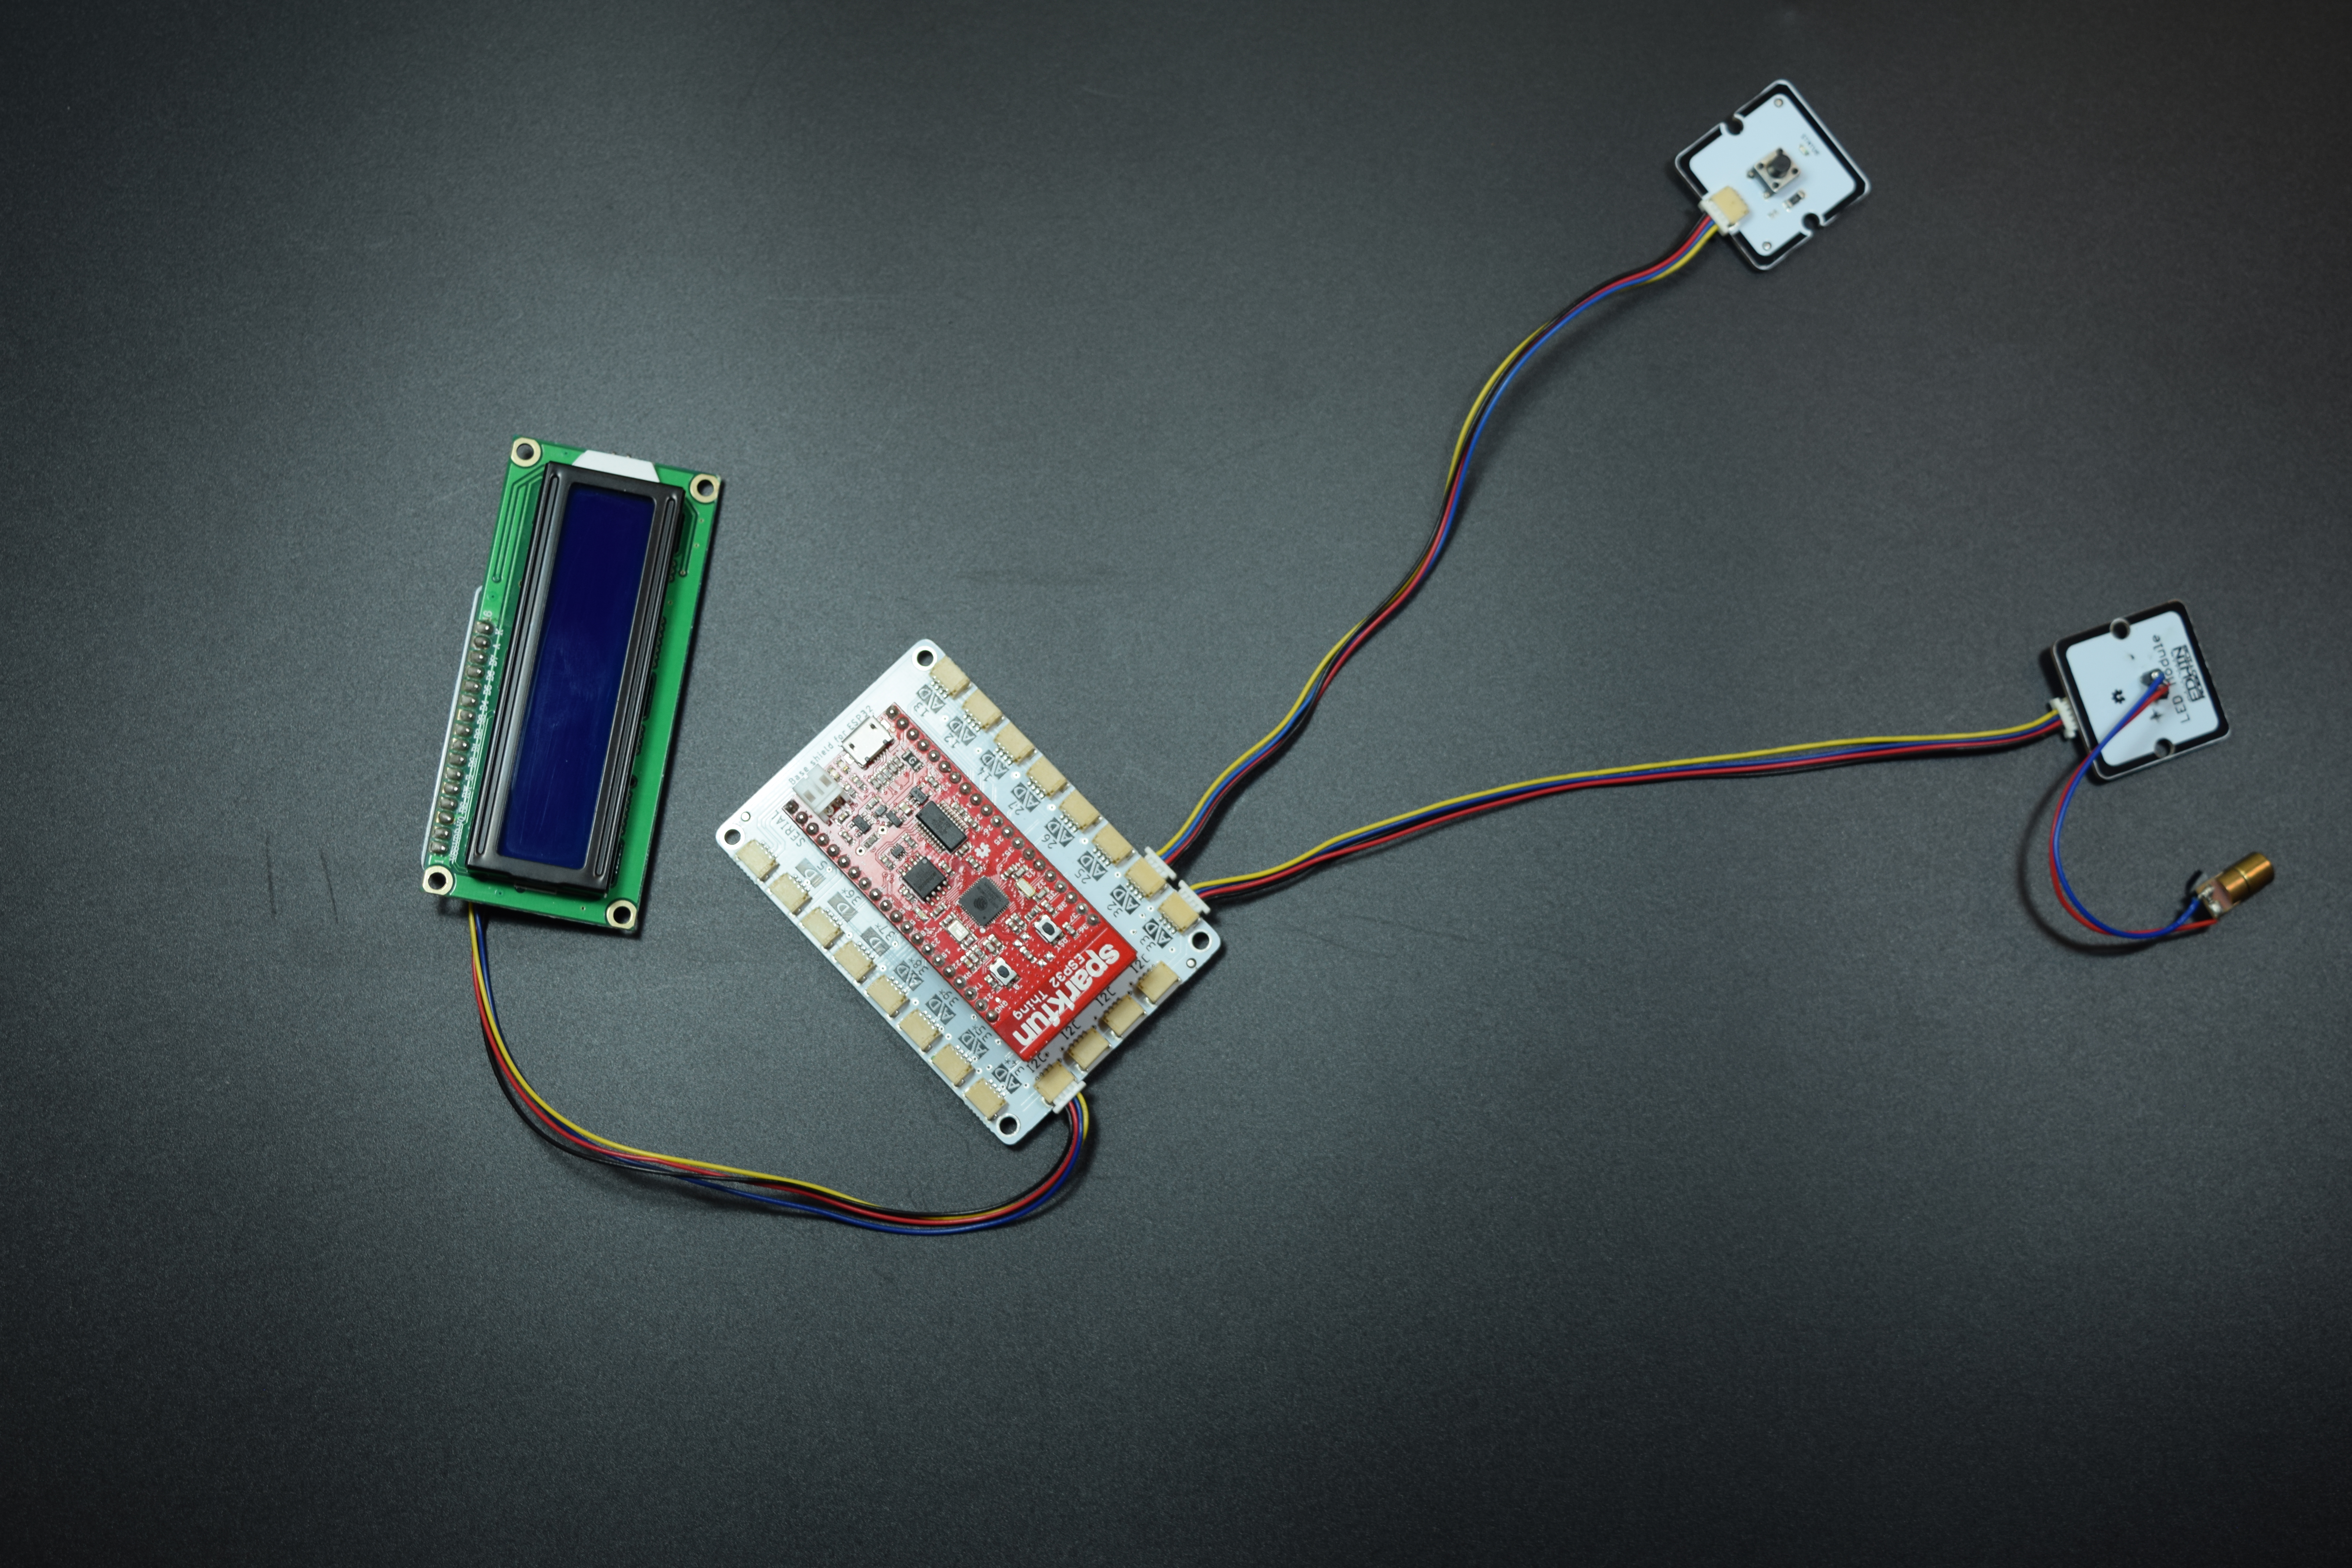
Component Connection for Laser Arm
2) Power the circuit using a lipo battery
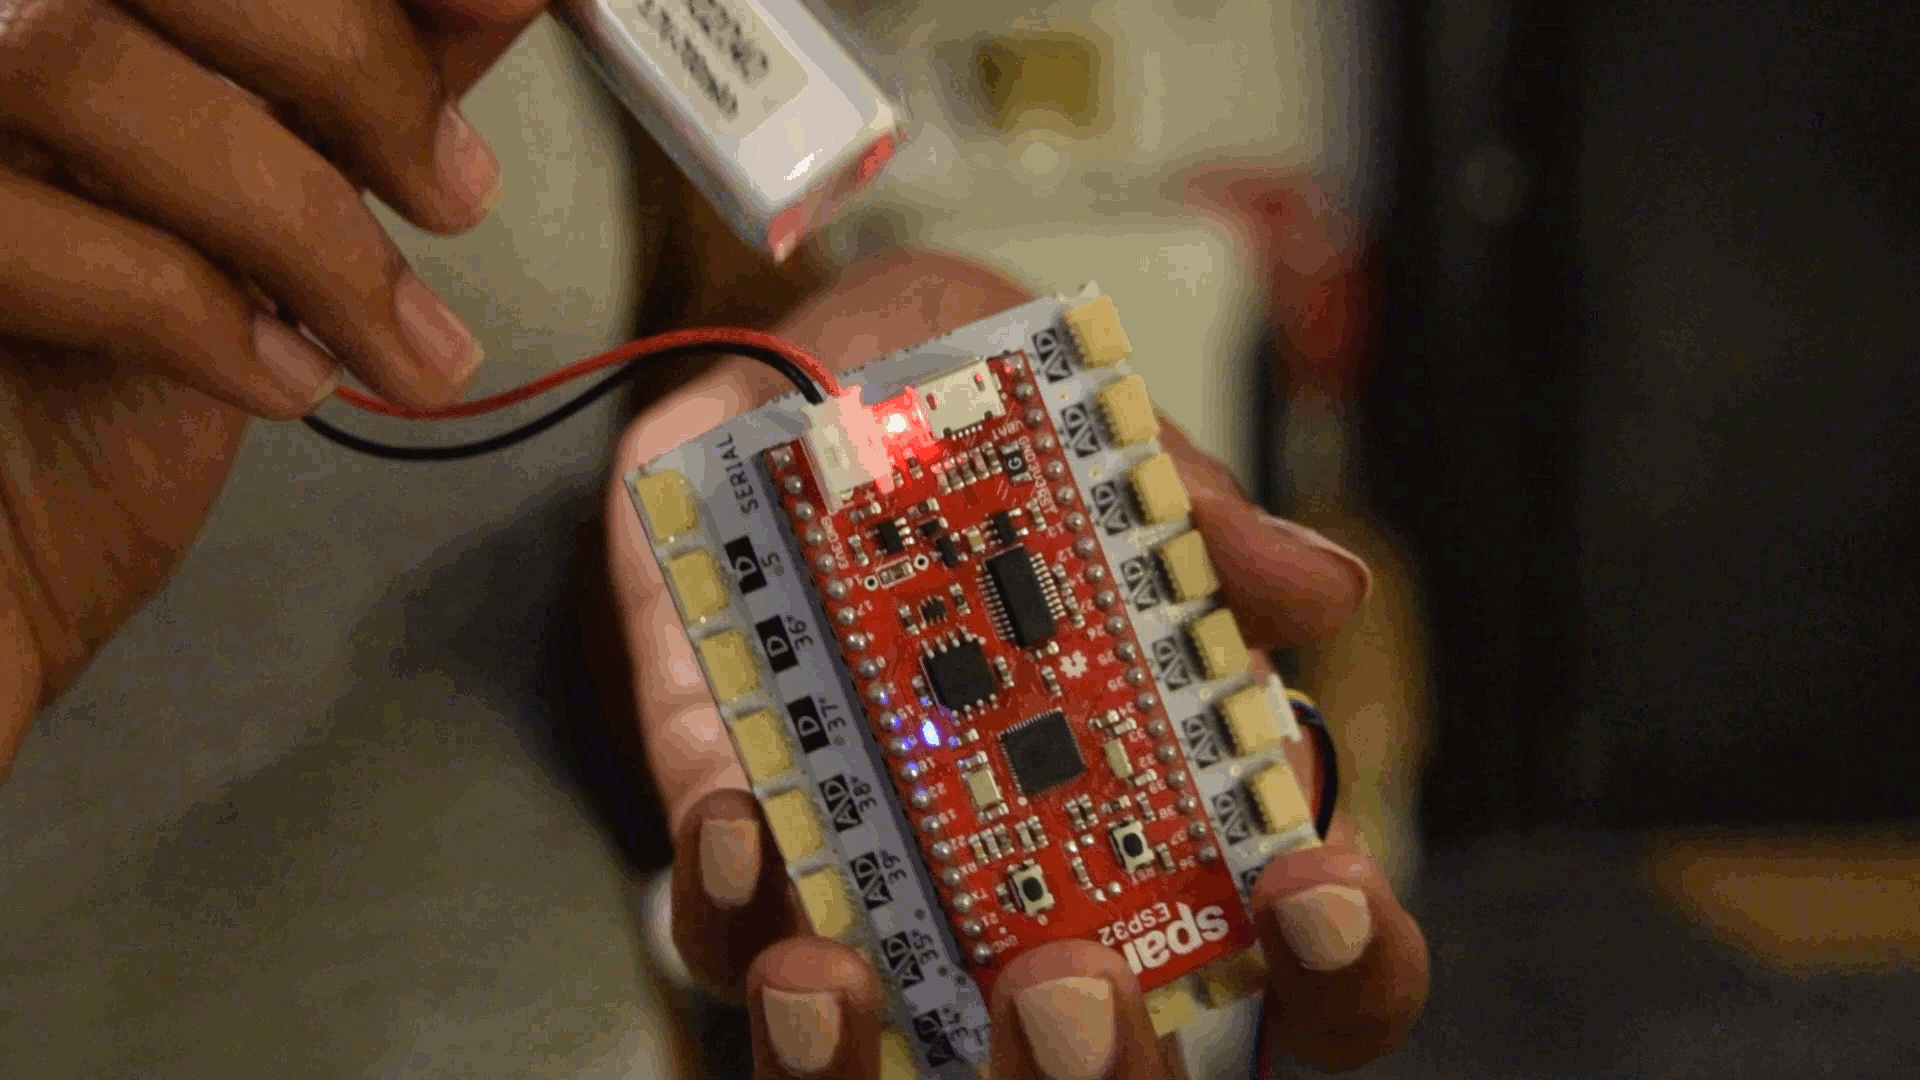
Lipo Battery being placed in between the SparkFun ESP 32 board and Base Shield of Medusa Head.
3) Next step is to wrap the components on to hand, using a crepe band. Place the components in the required position on to your hand , with the help of double sided tape. In the demo for the blog , the Push Button was placed inside the palm , while Medusa Heas as well as LCD display on wrist , and laser diode in between the nuckles of the fingers. Then the Crepe band is bound on to it.
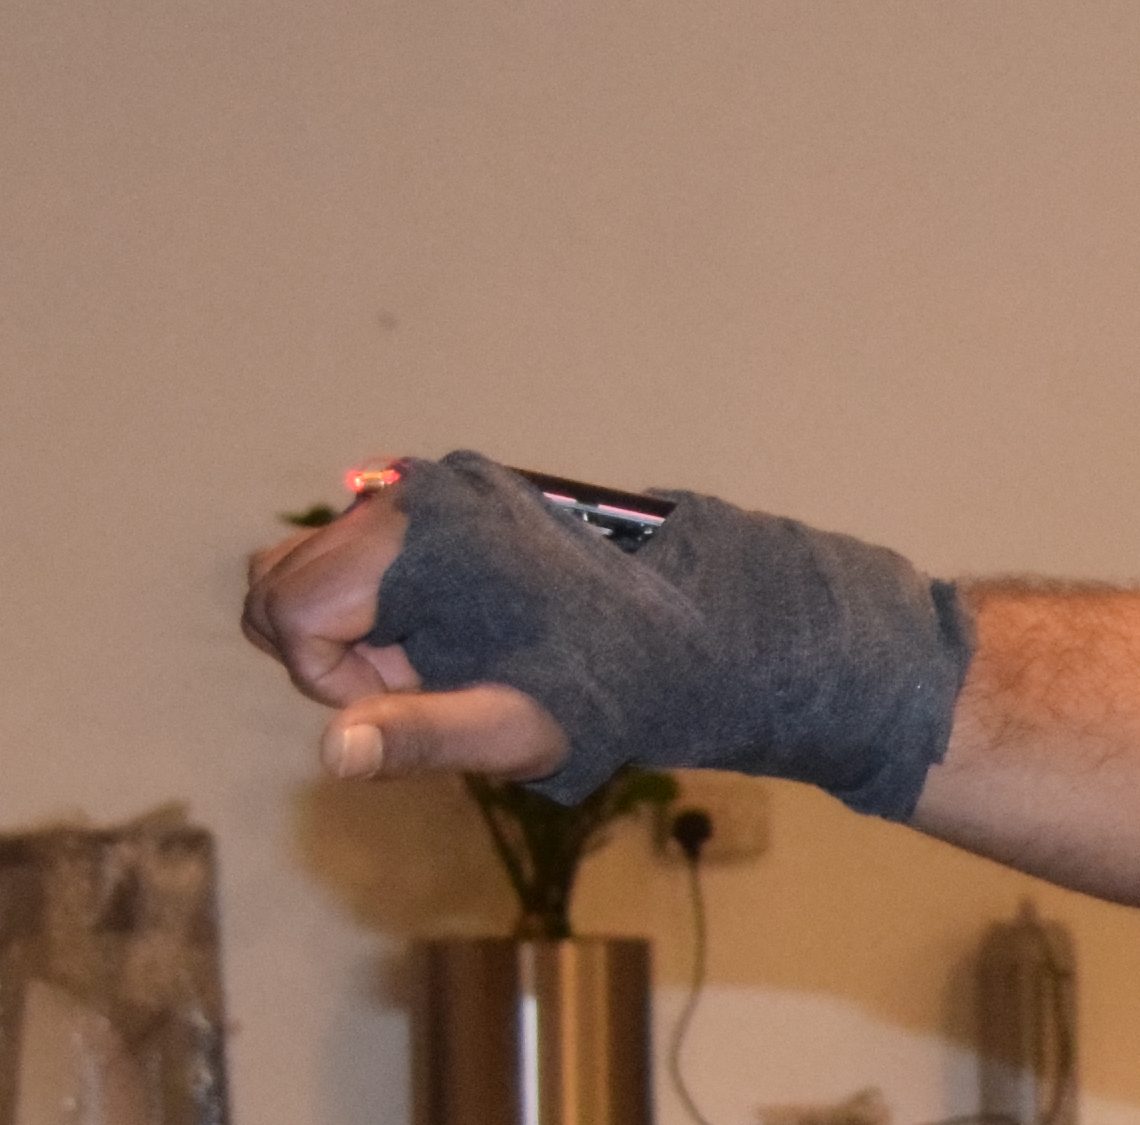
Sample of a Crepe band Wrap.
ENJOY LASER TAG GAME WITH YOUR FRIENDS !!!
CODE
Dartboard –
The following code works as mentioned: To start the game, touch the Medusa Touch Sensor, which makes the buzzer give a sound indicating the start of the count to the participant. Simultaneously the LCD screen displays start and the count which spans for a minute (60 Seconds)
#include <Wire.h>
#include <Adafruit_RGBLCDShield.h>
#include <utility/Adafruit_MCP23017.h>

//Define the pin to which the modules are connected
#define touch 5
#define S1 33
#define S2 32
#define S3 25
#define buzzer 14


#define gameTime 60 //Game duration in seconds

Adafruit_RGBLCDShield lcd = Adafruit_RGBLCDShield(); //Initialize the i2c LCD module

//Threshold values for the sensors. If reading exceeds this threshold value, it is considered as point scored
int S1threshold = 256;
int S2threshold = S1threshold;
int S3threshold = S1threshold;


int score = 0; //Initialize score to zero
boolean touchReleased = true; //Determine if the user has released his finger from the touch sensor

unsigned long startTime = millis(); //Variable to keep track of the start time of the game
boolean gameStarted = false; //Variable to keep track whether the game has started or not.

void setup() {


 // put your setup code here, to run once:
 //Initialize all pins
 pinMode(touch,INPUT);
 pinMode(S1,INPUT);
 pinMode(S2,INPUT);
 pinMode(S3,INPUT);
 pinMode(buzzer,OUTPUT);

 //Initialize the LCD
 lcd.begin(16,2);
 lcd.setBacklight(HIGH);
 lcd.print("Start");
 //Initialize the Serial for debug purposes.
 Serial.begin(9600);
}

void loop() {
 analogRead ( S1);
 analogRead ( S2);
 analogRead ( S3);
 Serial.println (analogRead ( S1));
 Serial.println ( analogRead ( S2) );
 Serial.println ( analogRead (S3));


 // put your main code here, to run repeatedly:
 if(digitalRead(touch) && !gameStarted) // Check if touch sensor is pressed and that game has not started
 {
 touchReleased = false;
 startGame();
 }
 else if(digitalRead(touch) && touchReleased && gameStarted) // Check if a) touch sensor is pressed b) user has released his hand from the touch sensor since game start
 // and c) whether the game has already started
 {
 touchReleased = false;
 stopGame();

 }
 else if(!digitalRead(touch)) //Check if user has released his finger from the touch sensor
 {
 touchReleased = true;
 }
 // If game has already started, a) update the display if game is not over b) if timer has exceeded stop the game.
 if(gameStarted)
 {
 // If time has exceeded game time, stop the game
 if(((millis() - startTime)/1000)>=gameTime)
 {
 stopGame();
 }
 else
 {
 //If the game is going on, update the display
 lcdUpdate();
 //Check if any of the sensors are triggered
 if ((analogRead(S1)>S1threshold) || (analogRead(S2)>S2threshold) || (analogRead(S3)>S3threshold))
 {
 //If any of the sensors is triggered, increase the score
 score++;
 digitalWrite(buzzer,HIGH); // Turn on the buzzer
 delay(500); // Wait 1 second
 digitalWrite(buzzer,LOW); // Turn off the buzzer
 delay(250);

 }
 }
 }
}

//Function to be run when stopping the game
void stopGame()
{
 digitalWrite(buzzer,HIGH); // Turn on the buzzer
 delay(1000); // Wait 1 second
 digitalWrite(buzzer,LOW); // Turn off the buzzer
 lcd.clear(); // Clear the LCD
 lcd.print("Score: "); //Print the score
 lcd.print(score);
 lcd.setCursor(0,1);// Move the cursor to the Second row
 lcd.print("Time Left: 0");
 gameStarted = false; //Reset the game started variable
}
//Function to be run when start the game
void startGame()
{
 digitalWrite(buzzer,HIGH); // Turn on the buzzer
 delay(1000); // Wait 1 second
 digitalWrite(buzzer,LOW); // Turn off the buzzer
 score = 0; // Reset the score
 startTime = millis(); // Initialize the game start variable
 lcdUpdate(); // Update the display
 gameStarted = true; // Set variable to determine whether game has started or not.
}

void lcdUpdate()
{
 lcd.home(); // Move cursor
 lcd.print("Score: "); // Display score
 lcd.print(score);
 lcd.setCursor(0,1);
 lcd.print("Time Left: "); // Display the time left
 lcd.print(" ");
 lcd.setCursor(11,1);
 lcd.print((gameTime - (millis() - startTime)/1000)); //millis() returns in milliseconds. The remaining time is determined by subtracting the elapsed time from the game time.
}
The Laser Arm –
The following code works as mentioned: every time you press the push button, the laser goes on, for a duration of 1 second. The program is set to give 10 chances to a participant, and this is displayed on the LCD which displays the counts from 10 to 0, at the rate by which the participant uses the laser shot.
#include <Wire.h>
#include <Adafruit_RGBLCDShield.h>
#include <utility/Adafruit_MCP23017.h>

#define laser 5
#define trigger 36

Adafruit_RGBLCDShield lcd = Adafruit_RGBLCDShield();

int ammo = 10;

void setup() {
 // put your setup code here, to run once:
 pinMode(trigger,INPUT);
 pinMode(laser,OUTPUT);

 lcd.begin(16, 2);
 lcd.setBacklight(HIGH);

 lcd.print("Ammo: ");
 lcd.print(ammo);


}

void loop() {
 // put your main code here, to run repeatedly:
 if(!digitalRead(trigger))
 {
 if(ammo>0)
 {
 digitalWrite(laser,HIGH);
 delay (200);
 digitalWrite(laser,LOW);
 ammo--;
 lcd.clear();
 lcd.print("Ammo: ");
 lcd.print(ammo);
 delay(250);
 }
 else
 {
 lcd.clear();
 lcd.print("LOW AMMO!!");
 for (int i = 0;i<10;i++)
 {
 lcd.setBacklight(LOW);
 delay(250);
 lcd.setBacklight(HIGH);
 delay(250);
 }
 ammo = 10;
 lcd.clear();
 lcd.print("Ammo: ");
 lcd.print(ammo);
 }
 }
 else
 {

 digitalWrite(laser,LOW);
 }
}
Resources:
- Medusa Head for SparkFun ESP32 Thing Design Files(Bitbucket)
- Medusa Ambient Light Sensor Design Files ( Bitbucket)
- Medusa Push Button Design Files (Bitbucket)
- Medusa Buzzer Design Files (Bitbucket)
- Medusa 16×2 Display I2C Module Design Files (Bitbucket)
- Medusa Touch Sensor Design Files (Bitbucket)
- Medusa LED Module/Laser Diode Design Files (Bitbucket)