Installing UniFi on Raspberry Pi
In this post we will cover how to install the UniFi Controller by Ubiquiti Networks on the Raspberry Pi. If you are looking for low cost enterprise grade Access points checkout the Ubiquiti website for one that is suitable to your needs
Requirements:
 |
|
 |
|
 |
|
 |
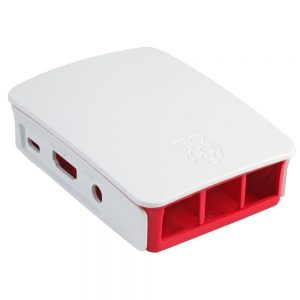
Case – Optional |
Upgrading all packages and firmware:
Its recommended that all existing packages are upgraded and the latest firmware is installed. This can by done by typing in the following commands
sudo apt update && sudo apt upgrade -y
Once this is completed we will upgrade the firmware and automatically reboot the system
sudo rpi-update && sudo reboot
Adding the Ubiquiti repo:
The first step in installing UniFi is to add the Ubiquiti repo to the sources list
echo 'deb http://www.ubnt.com/downloads/unifi/debian unifi5 ubiquiti' | sudo tee -a /etc/apt/sources.list.d/ubnt.list > /dev/null
sudo apt-key adv --keyserver keyserver.ubuntu.com --recv C0A52C50
sudo apt update
Installing UniFi controller:
Once the repo is added and the latest files are fetched, install UniFi
sudo apt install unifi -y
Once Unifi is installed, mongoDB needs to be disabled from starting when the system starts and then a system reboot is performed. This will automatically start the UniFi controller on reboot
echo 'ENABLE_MONGODB=no' | sudo tee -a /etc/mongodb.conf > /dev/null
sudo reboot
The webpage can be accessed by visiting http://<IP of Raspberry Pi>:8443
Resources:
