

Ardublockly
Ardublockly is a visual programming language that is based on Google’s Blockly. Being a visual programming language you don’t need to worry about remembering syntaxes or missing semicolons. The Arduino code is generated when the blocks are connected to perform an action. Ardublockly also displays the actual C code that is being uploaded making it easier to understand what goes on in the background.
Installing & Configuring Ardublockly
Get the latest version of Ardublockly from its github page. Do ensure that you have the latest Arduino IDE installed as well, check the Arduino guide for more info on how to install Arduino.
Installing on Windows
- Extract Ardublockly – Once you have downloaded the latest version of Ardublockly, extract it to a location of your choosing.
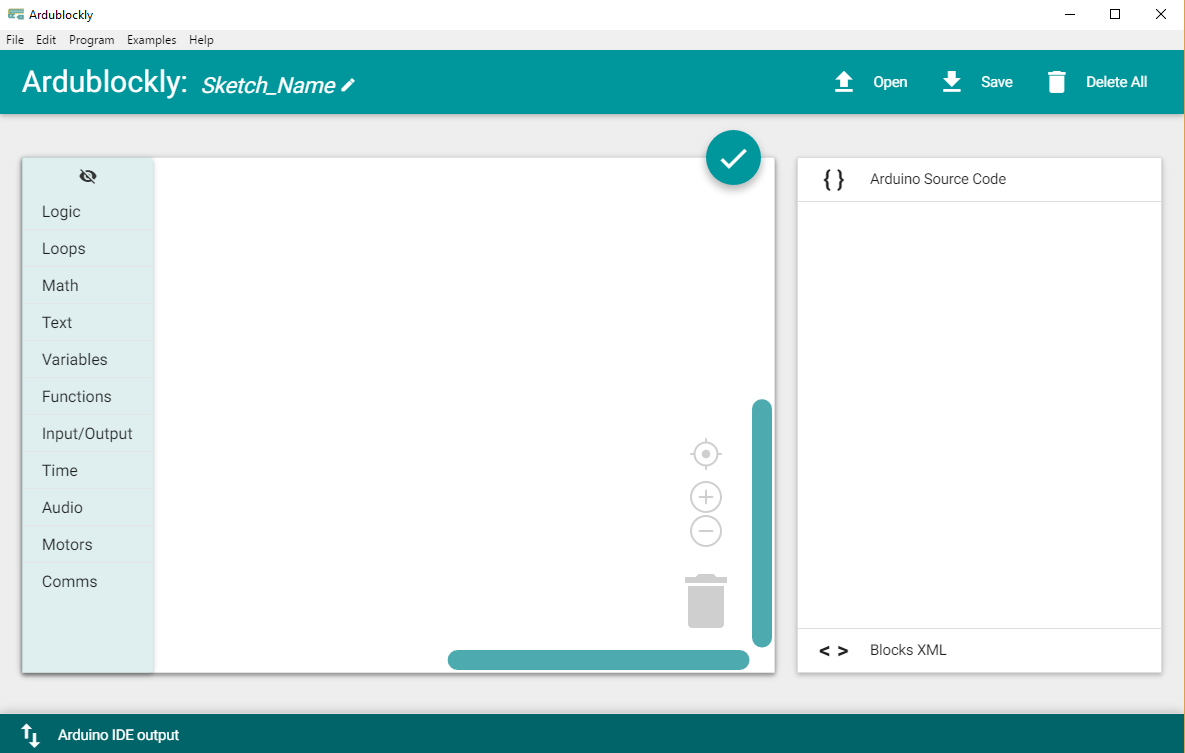
- Run Ardublockly – In the Ardublockly folder run the ardublockly_run.bat. This will run Ardublockly and create the ServerCompilerSettings.ini file that we need to modify to get Ardublockly working. Once Ardublockly has successfully started you should see the Ardublockly homescreen.

Ardublockly IDE
- Close Ardublockly – Now that the ServerCompilerSettings.ini has been created, we can close Ardublockly
- Open ServerCompilerSettings.ini file using Wordpad – The ServerCompilerSettings.ini file needs to be edited to configure the location of arduino_debug.exe
Note: Open the file using pretty much any text editor other than notepad as notepad does not recognize the line breaks properly - Add location of arduino_debug.exe – The location of arduino_debug.exe if installed via the Arduino installer, will be located at C:\Program Files (x86)\Arduino\arduino_debug.exe

ServerCompilerSettings.ini configured using wordpad
- Run Ardublockly – To test whether it has been configured properly, run ardublockly_run.bat and open the preferences ( Edit → Preferences) it should show a window like this

Ardublockly Preferences
- Select Board & Port – Next select the board that is being used, in our case it is the UNO. The available serial port will be shown only if the Arduino is connected.
- Test Configuration – To ensure everything is all set and done click on the verify button


Ardublockly Verify
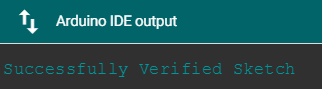
Verify Successfully
- If all goes well the Successfully Verified Sketch will be displayed, this may take 20-30 seconds on some machines.
- Extract Ardublockly – Once you have downloaded the latest version of Ardublockly, extract it to a location of your choosing.
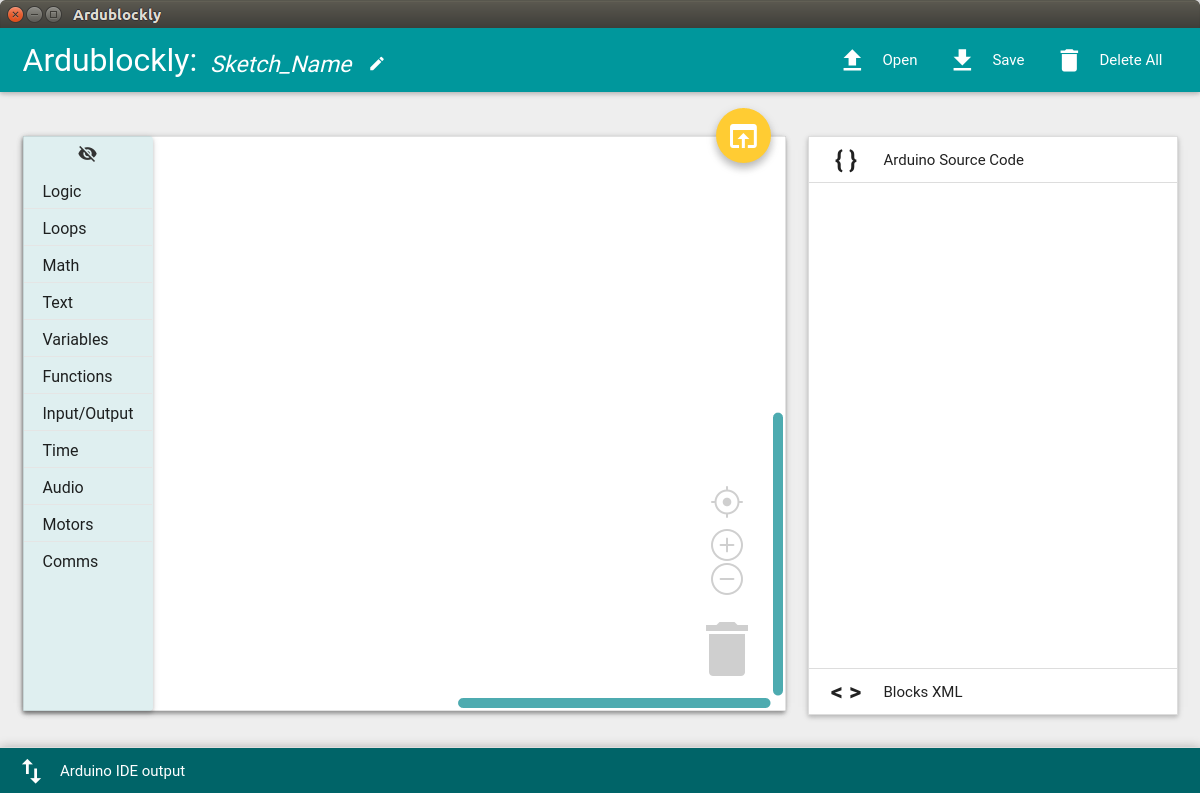
- Run Ardublockly – In the Ardublockly folder run the ardublockly_run.sh as root file from terminal. This will run Ardublockly and create the ServerCompilerSettings.ini file that we need to modify to get Ardublockly working. Once Ardublockly has successfully started you should see the Ardublockly homescreen.

Ardublockly Terminal

Ardublockly Linux
- Close Ardublockly – Now that the ServerCompilerSettings.ini has been created, we can close Ardublockly
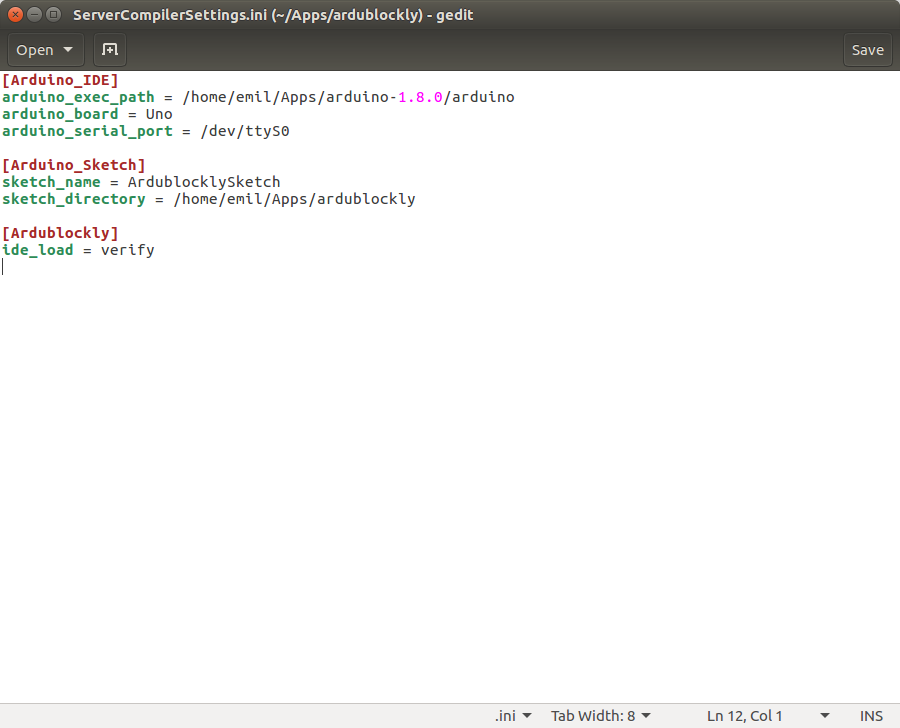
- Open ServerCompilerSettings.ini file – The ServerCompilerSettings.ini file needs to be edited to configure the location of arduino
- Add location of arduino – arduino is located at the root folder of Arduino, in this case it is /home/emil/Apps/arduino-1.8.0/arduino

Editing ServerCompilerSettings.ini in gedit
- Run Ardublockly – To test whether it has been configured properly, Run ardublockly_run.sh as root from terminal and open the preferences ( Edit → Preferences) it should show a window like this

Ardublockly Preferences on Linux
- Select Board & Port – Next select the board that is being used, in our case it is the UNO. The available serial port will be shown only if the Arduino is connected.
- Test Configuration – To ensure everything is all set and done click on the verify button

Ardublockly Verify

Verify Successfully
- If all goes well the Successfully Verified Sketch will be displayed


Blinking An LED
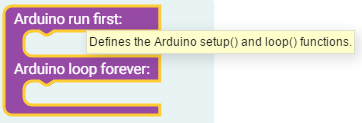
- The first step should be to add the Arduino Run First/Arduino Loop Forever block although this is not necessary it will help keep your code clean. It can be found under the functions category
- This block lets define what instructions need to be run first and what needs to run forever. Most instructions will come under the latter.
- Next involves setting the digital pin onto which the LED is connected as either HIGH (ON) or LOW (OFF), this block can be found under the Input/Output category
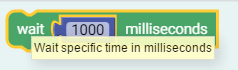
- The on board LED is connected to pin 13, set the pin# to 13 to be able to turn ON the LED. Next comes the delay this will ensure that the pin stays in the HIGH (ON) state for a set period of time. This can be found under the Time category. The time is set in milliseconds, 1 second = 1000 milliseconds.
- These 2 steps needs to be repeated again but in the LOW state to turn off the LED. The final code will be as follows.

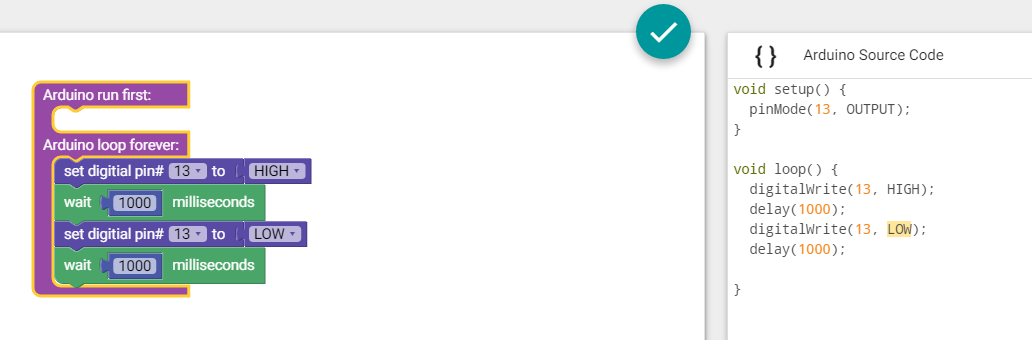
Blink Code
- Click the upload button to push the code to the Arduino.
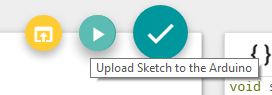
Upload Button (Center Button)
- If all goes well, the LED should start blinking now.
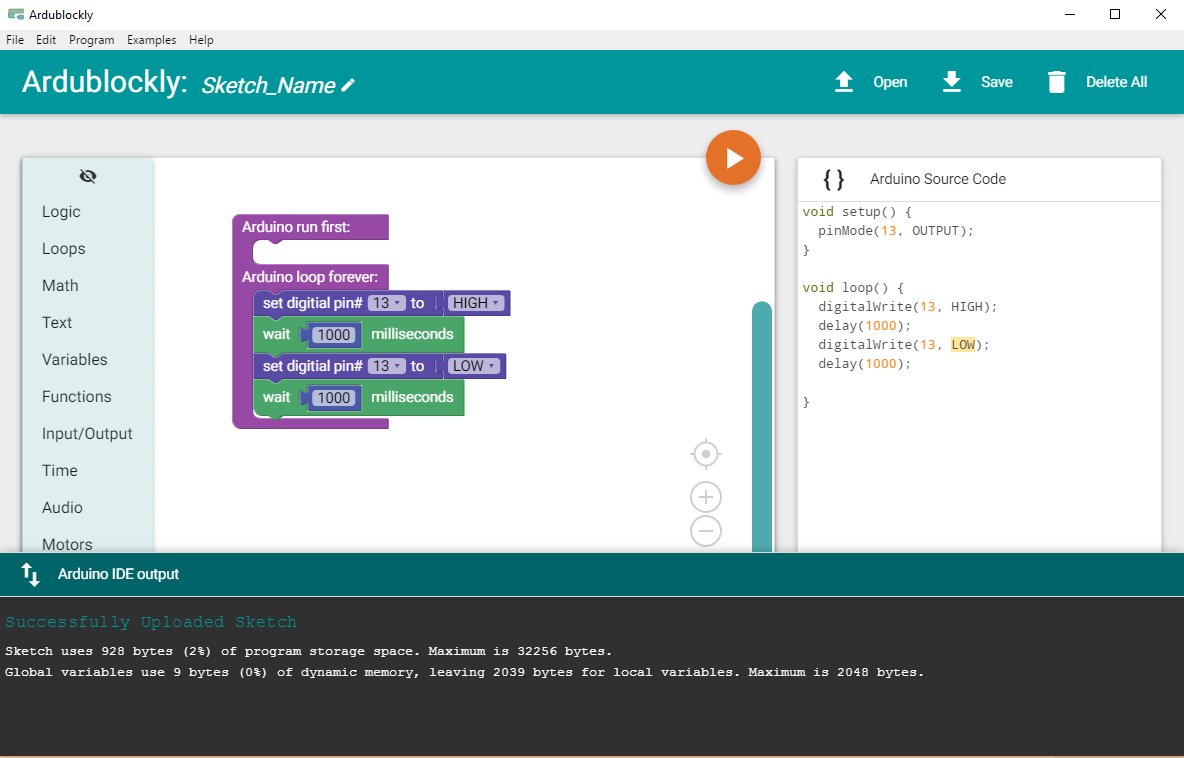
Successful Upload